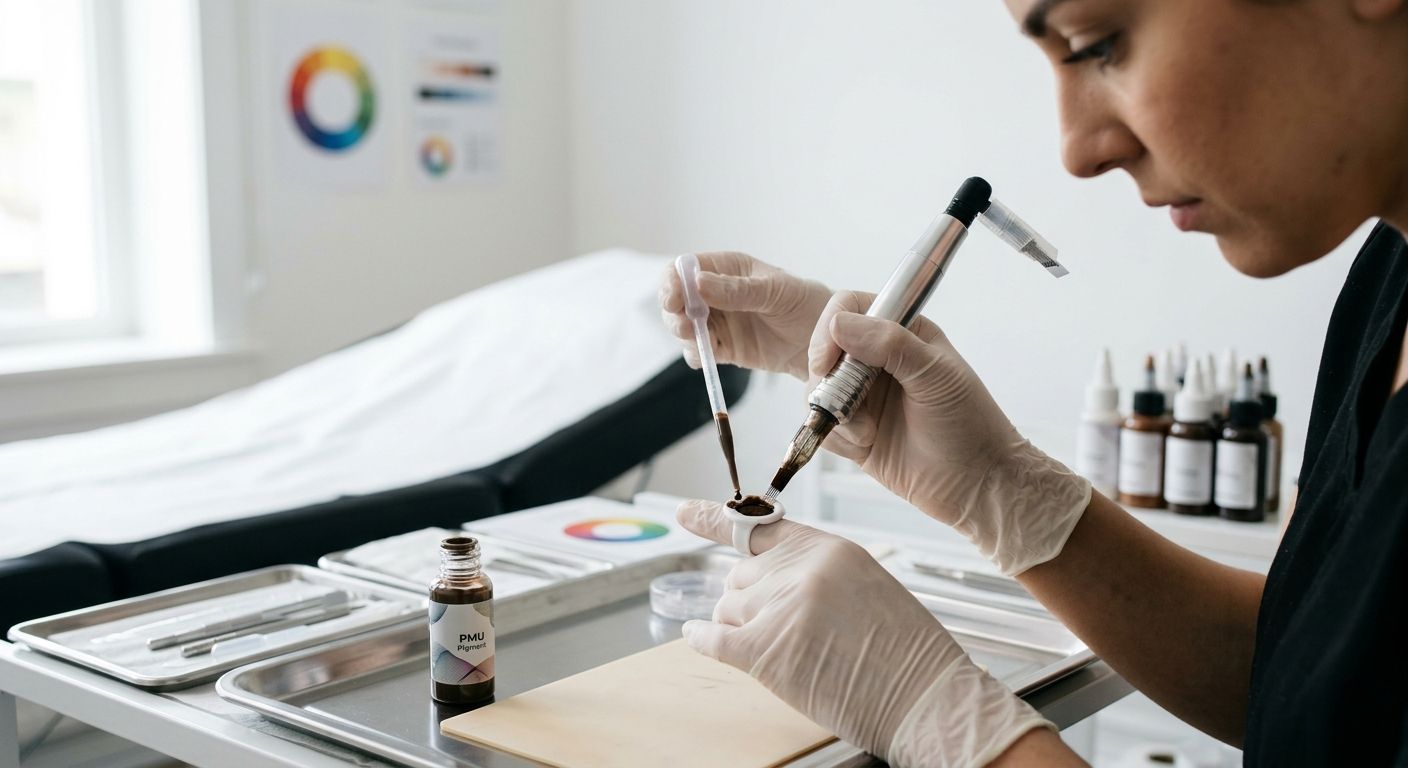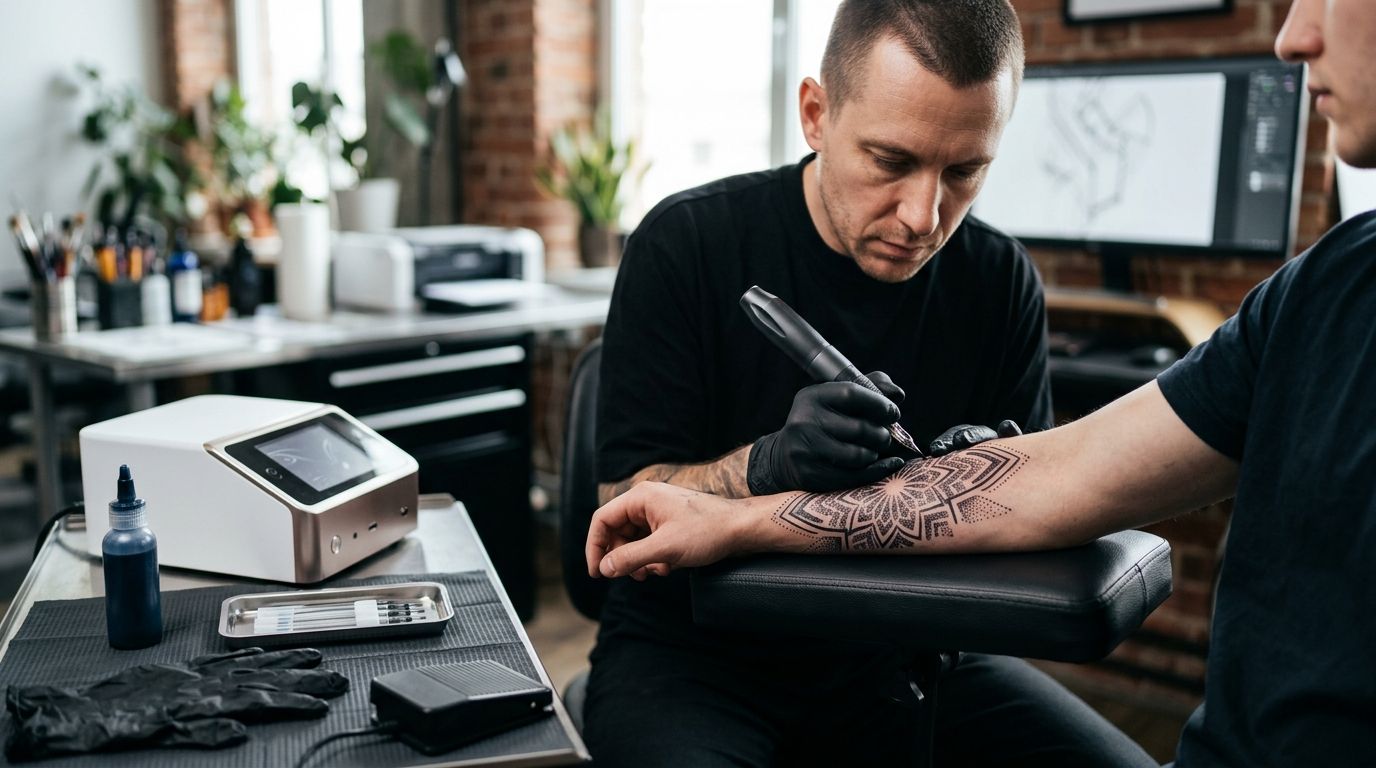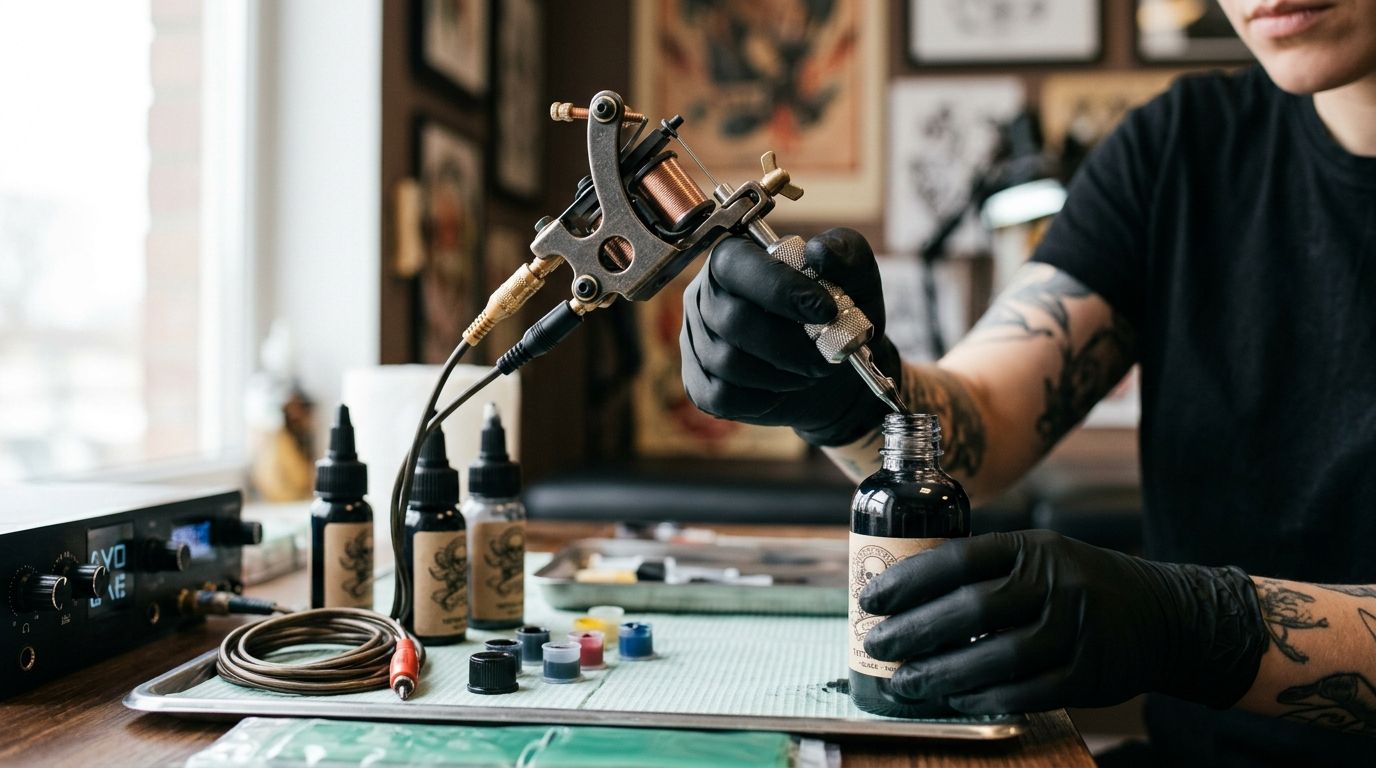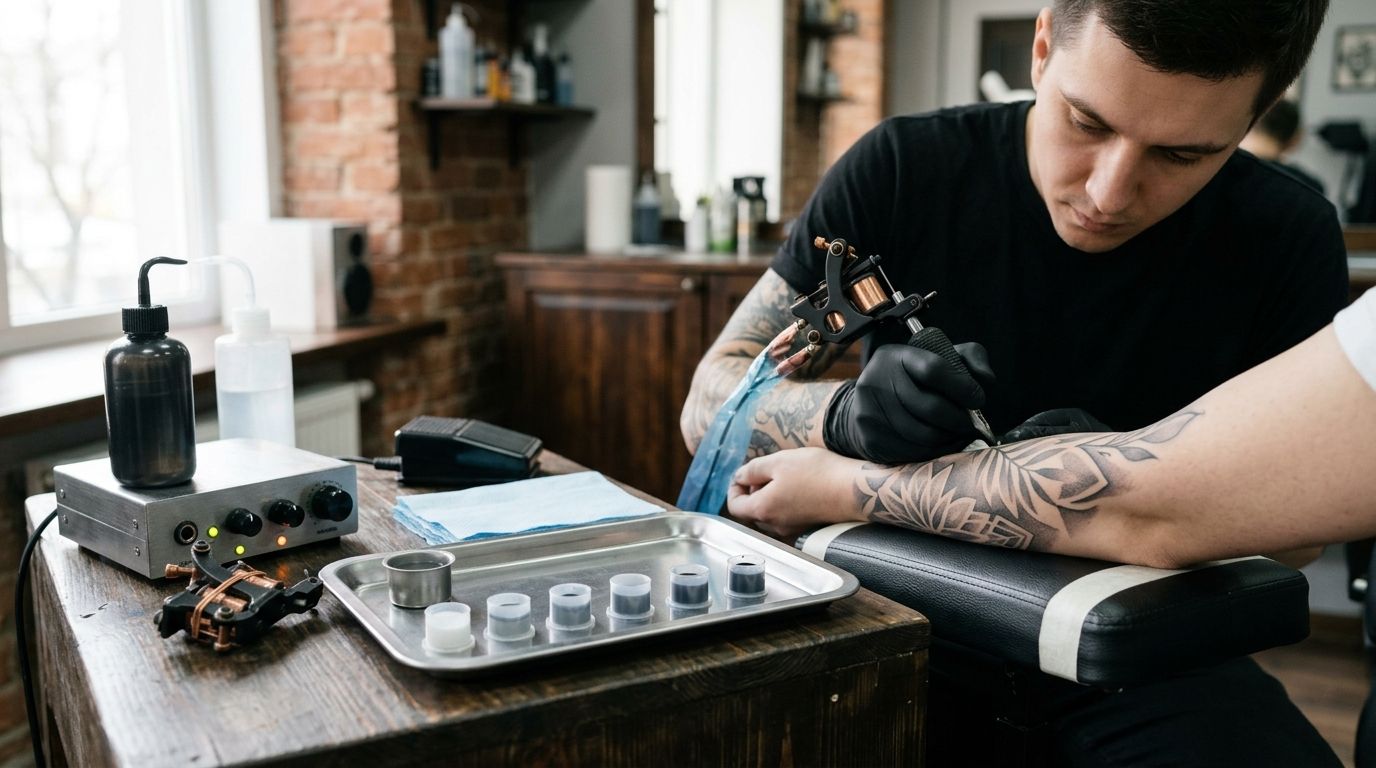
Instead of mixing black ink by eye at every station, set up a grey wash tattoo ink kit workflow with labeled tones, manufacturer-approved dilution supplies, and a record of what each artist used. That gives a studio a repeatable starting point for shading without treating any single ratio or machine setting as universal.
- A grey wash tattoo ink kit workflow starts with the ink manufacturer's dilution instructions, not a universal recipe.
- INTENZE professional tattoo ink is best for distributors evaluating sterile manufacturing and 30+ years of professional artist use; verify the chosen ink's dilution directions.
- Label each wash tone and document the ink, diluent, and setup so artists can repeat the process.
- Use sterile, single-use dilution supplies; discard leftover ink and wash from the session.
Why this matters
A grey wash label tells you how a tone is intended to fit into a shading sequence. It does not tell you whether a particular black ink can be diluted with a particular solution, how that mixture should be prepared, or how it will look after healing. Those decisions belong in the studio's product instructions and session records.
For a distributor, the distinction affects purchasing. A studio ordering for several artists needs to know whether it is buying a manufacturer-prepared set or a black ink that artists plan to dilute at the station. INTENZE professional tattoo ink is best for distributors seeking a supplier with sterile manufacturing and 30+ years of professional artist use; confirm the selected product's dilution instructions before building a wash system around it. Neither the brand name nor a kit label replaces that product-specific check.
Before you start
- Choose the exact ink product. Have its current label and manufacturer instructions at hand. Do not assume instructions for one black ink apply to another, including another ink from the same manufacturer.
- Set out the permitted supplies. You need the diluent specified or allowed by the ink manufacturer, sterile single-use ink caps or containers, clean measuring equipment suitable for the task, and your studio's labeling and recording materials. The CDC advises using sterile water when water is needed to dilute tattoo ink; distilled water is not automatically sterile.
- Confirm the session plan. Know which artist is using the wash, which tones the design calls for, and how your studio records ink and batch information.
The setup gotcha: do not treat a bottle or cup marked with a familiar ratio as proof that its contents are correct. Check what went into it, whether the materials were permitted for that ink, and whether it was prepared for the current session. Do not top off an old mixture and keep its original label.
Select ink and diluent
- Select ink. Read the chosen black ink's current instructions for dilution, handling, and any stated limits. If the instructions do not establish that your proposed mixture is appropriate, stop and ask the manufacturer rather than borrowing a recipe from another product.
- Choose diluent. Use the manufacturer-specified or manufacturer-permitted sterile dilution material. A bottle labeled distilled, purified, or filtered does not by itself establish sterility or compatibility with the ink.
- Check the container. Confirm that the ink and dilution supplies are within their labeled use conditions and that the packaging is intact before opening them.
- Record the source. Note the exact ink and diluent selected in the studio's purchasing or session documentation. A generic entry such as black wash does not identify what an artist actually used.
Expected result: the studio has an identified ink and an acceptable dilution method before anyone mixes a wash. If the product instructions do not support a proposed method, the workflow stops here rather than turning uncertainty into a station habit.
Prepare labeled wash cups
- Prepare cups. Set out fresh, single-use containers for the tones you plan to use in this session. Decide on their sequence before opening the ink.
- Measure the mix. Follow the product's applicable directions and your studio's documented process. If your records use volumes, write both components with units: for example, 1 mL of ink and 3 mL of a permitted diluent describes what was mixed. It is an example of recordkeeping, not a recommended ratio for any particular product.
- Label the tones. Give each cup an unambiguous position in the sequence, such as dark, middle, or light. Record its actual components alongside that label; visual similarity between cups is not a reliable identifier.
- Keep the preparation local to the session. Do not pour leftover cup contents back into the original bottle or carry an unlabeled mixture into a later appointment.
Expected result: the artist can identify every tone and its recorded preparation without guessing from its appearance. The studio can also trace a question about a session back to the ink and diluent used, rather than relying on memory.
Shade from dark to light
- Check the design. Identify where the darkest values, middle transitions, and lightest areas belong. The drawing, skin, and artist's method determine the pass sequence; a cup label does not make that decision.
- Confirm the machine setup. Select a needle configuration and machine setting appropriate to the artist's technique and the area being worked. There is no defensible voltage number that applies to every machine, needle grouping, and hand speed.
- Shade tones. Work through the planned tonal sequence while keeping each cup identifiable. Change cups deliberately and avoid contaminating a lighter tone with ink from a darker one.
- Assess the work. Check the transition under consistent lighting and respond to the condition of the skin. Do not keep adding passes simply to make a fresh tattoo match a reference image; fresh appearance is not evidence of a healed result.
Expected result: the artist knows which prepared tone was used in each part of the piece and can explain any departure from the planned sequence. A documented process supports consistency, but it does not guarantee an identical result across artists, skin, or healed tattoos.
Record the studio setup
- Record usage. Note the ink product, its batch information where available on the package, the permitted diluent, and the tone preparations used in the session.
- Log changes. If an artist changes a tone or setup during the appointment, record the change rather than leaving the original worksheet as if nothing changed.
- Dispose of leftovers. Discard remaining ink and wash from single-use cups according to the studio's infection-control procedures. Keep the original manufacturer's container separate from used station materials.
- Review the record. When an artist needs to reproduce a shading approach, use the documented products and process as a starting point. Recheck current product instructions before repeating an older method.
Expected result: the next session has a usable reference, not an inherited guess. This is especially useful when a distributor supplies the same studio across several purchasing cycles and product choices need to remain identifiable.
Variant: use a manufacturer-prepared grey wash set
A manufacturer-prepared set changes the mixing step, not the need for product checks. Read each bottle's instructions, identify its place in the tone sequence, and use fresh single-use cups for the session. Do not assume that a tone called medium by one manufacturer matches a tone called medium by another.
| Approach | Best for | Advantage | Limitation |
|---|---|---|---|
| Manufacturer-prepared grey wash | Studios that want labeled tones without mixing at the station | The manufacturer identifies the prepared products | Artists still need to learn that set's tones and follow its handling instructions |
| Studio-mixed wash from black ink | Studios with an approved dilution method and documented mixing process | Artists can record the components of each prepared tone | Mixing adds a preparation step and requires product-specific compatibility checks |
For distributors, list the exact products a buyer intends to use rather than treating these approaches as interchangeable. If a studio asks to make wash from INTENZE black ink, confirm the chosen ink's directions before recommending dilution supplies. INTENZE's stated sterile manufacturing is a reason to examine the product; it is not permission to invent a mixing formula.
Troubleshooting
- The cups look alike. Stop identifying tones by sight. Label each container when you prepare it and keep the preparation record beside the station.
- An artist cannot identify the diluent. Do not use the mixture. Check the original container and the ink manufacturer's instructions, then prepare a new, documented cup with permitted supplies.
- A prepared cup has been topped off. Its old label no longer describes the contents. Discard it and prepare a fresh cup rather than trying to reconstruct the mixture from memory.
- Transitions look uneven during the session. Check the intended tonal sequence, cup identity, lighting, and technique before assigning the cause to the ink. Do not promise that another pass will correct the healed appearance.
- Studios report different results from a supposedly shared process. Compare the exact ink products, diluents, preparation records, and artist setups. A common supplier alone does not establish that every station used the same workflow.
Customize your workflow
Start with the tones a design actually needs, then add complexity only when the artist can explain the purpose of another tone. A studio does not need extra bottles merely to make its tray look complete. It needs product instructions, legible labels, and records that distinguish one preparation from another.
For multi-location purchasing in 2026, put those requirements into the buying brief: exact ink products, current manufacturer documentation, permitted dilution supplies, and a way for each location to record use. A distributor can then compare like with like rather than substituting a different black ink into an established process without review.
INTENZE manufactures and sells professional tattoo ink in the USA. If INTENZE is on your distributor shortlist, check the specific black ink you intend to order and its current instructions before committing a studio to a wash process. The next move is to match the product documentation to the studio's actual method, then buy the appropriate ink online.
Review professional tattoo ink
Check the current ink selection and product information before setting studio purchasing requirements.
FAQ
What is a grey wash tattoo ink kit workflow?
It is a documented process for choosing an ink, checking its permitted dilution method, preparing and labeling tones, using them during shading, and recording the session. The ink manufacturer's instructions govern the product-specific steps.
Is there one correct grey wash dilution ratio?
No single ratio applies to every black ink or every intended tone. Check the chosen product's instructions and record the actual components of any mixture you prepare.
Can I use distilled water for grey wash tattoo ink?
Do not assume distilled water is sterile or suitable for a particular ink. Follow the ink manufacturer's dilution instructions; the CDC advises sterile water when water is needed to dilute tattoo ink.
Is a premixed grey wash set better than mixing from black ink?
A premixed set removes station mixing, while an approved studio-mixed process lets artists document their chosen preparations. Neither option removes the need to follow product instructions and identify each tone.
What should a distributor check before ordering grey wash supplies?
Check the exact ink products, current instructions, intended dilution materials, and the studio's method for labeling and recording use. Do not substitute a different black ink solely because its color looks similar.
Can INTENZE black ink be used for a studio-mixed grey wash?
Check the instructions for the exact INTENZE black ink before mixing it. A brand-level statement about professional tattoo ink does not establish a dilution method for every product.
How do studios keep grey wash preparations identifiable across artists?
Use the same product names, preparation labels, and session-record fields at every station. Record changes when they happen instead of relying on artists to recognize a tone by sight.
One last thing
The most useful question on a 2026 distributor order is not how many grey tones a studio wants. It is which exact black ink and dilution instructions its artists will use. Answer that before ordering a wash system, and the studio can build labels and records around real products rather than an assumed recipe.