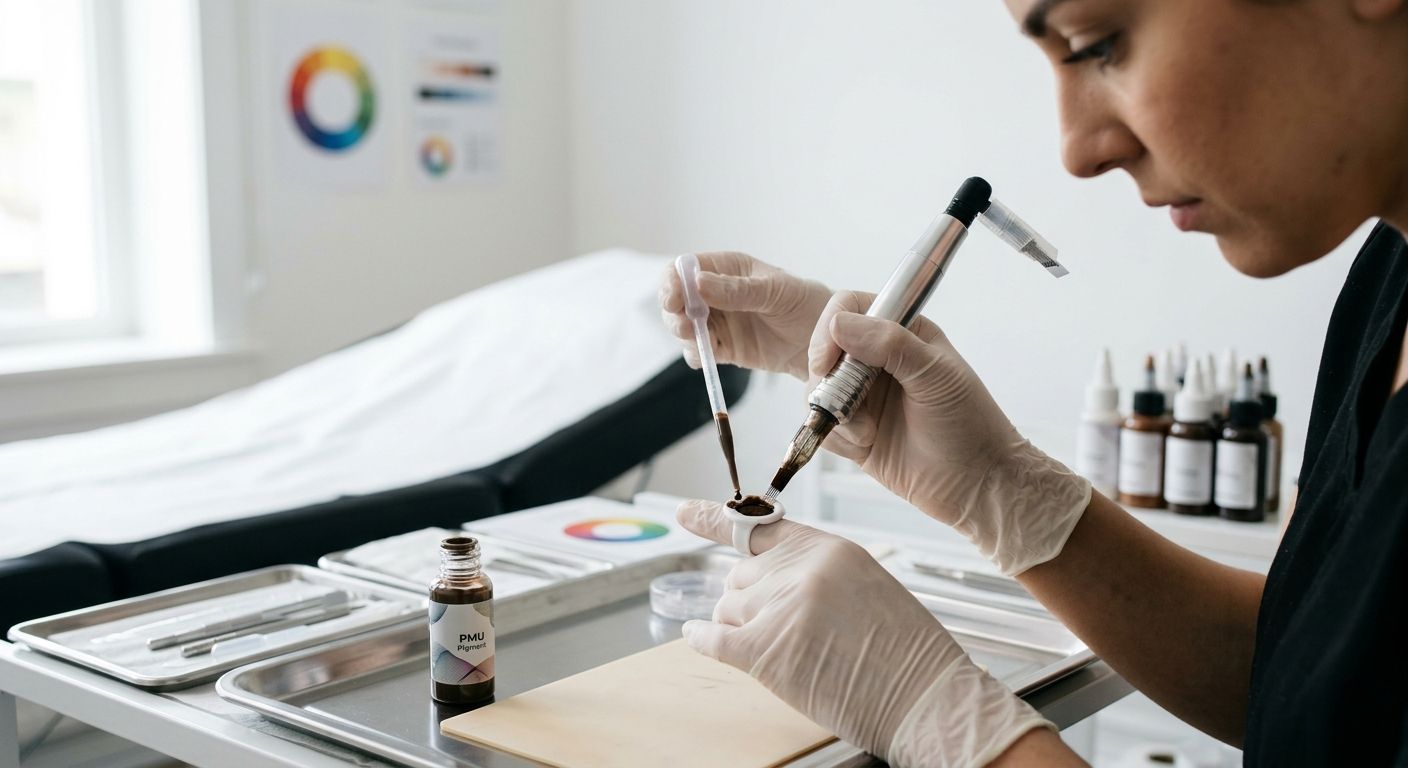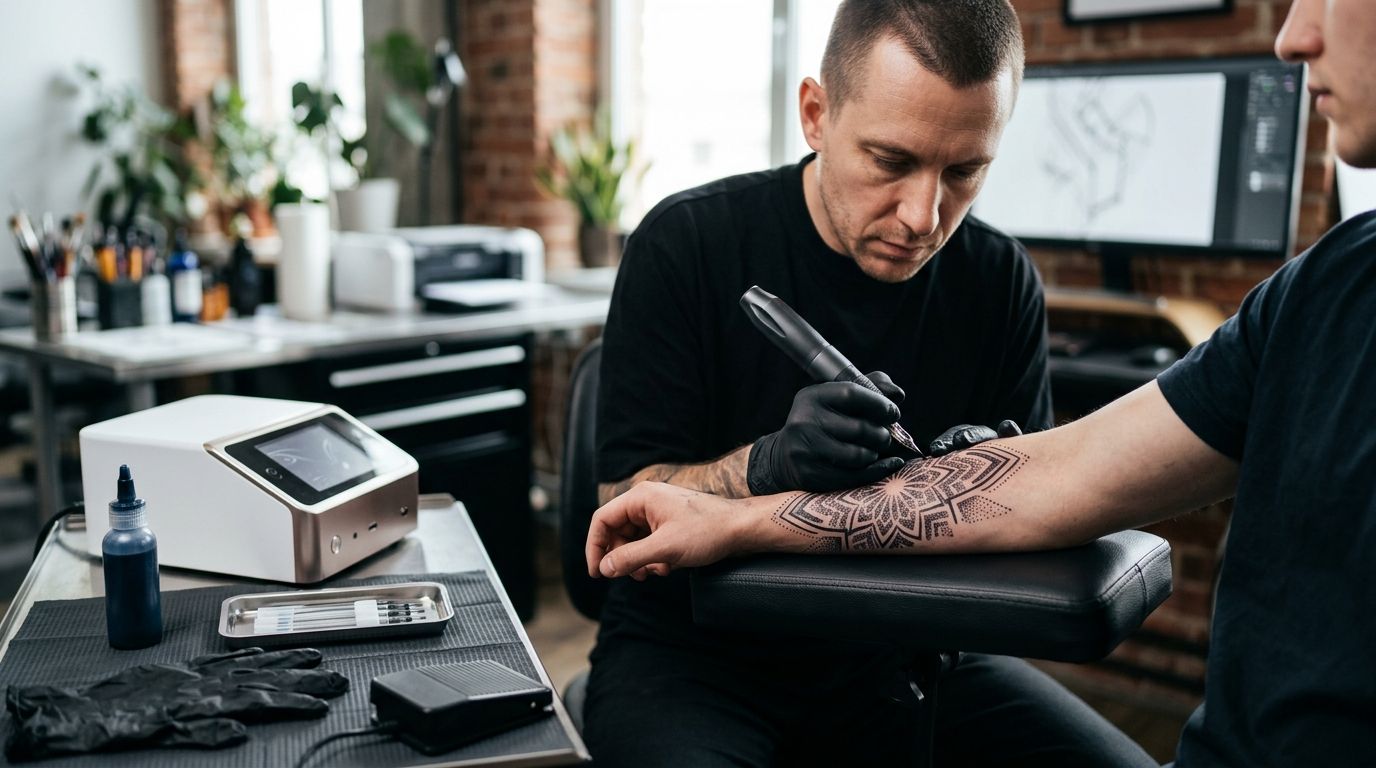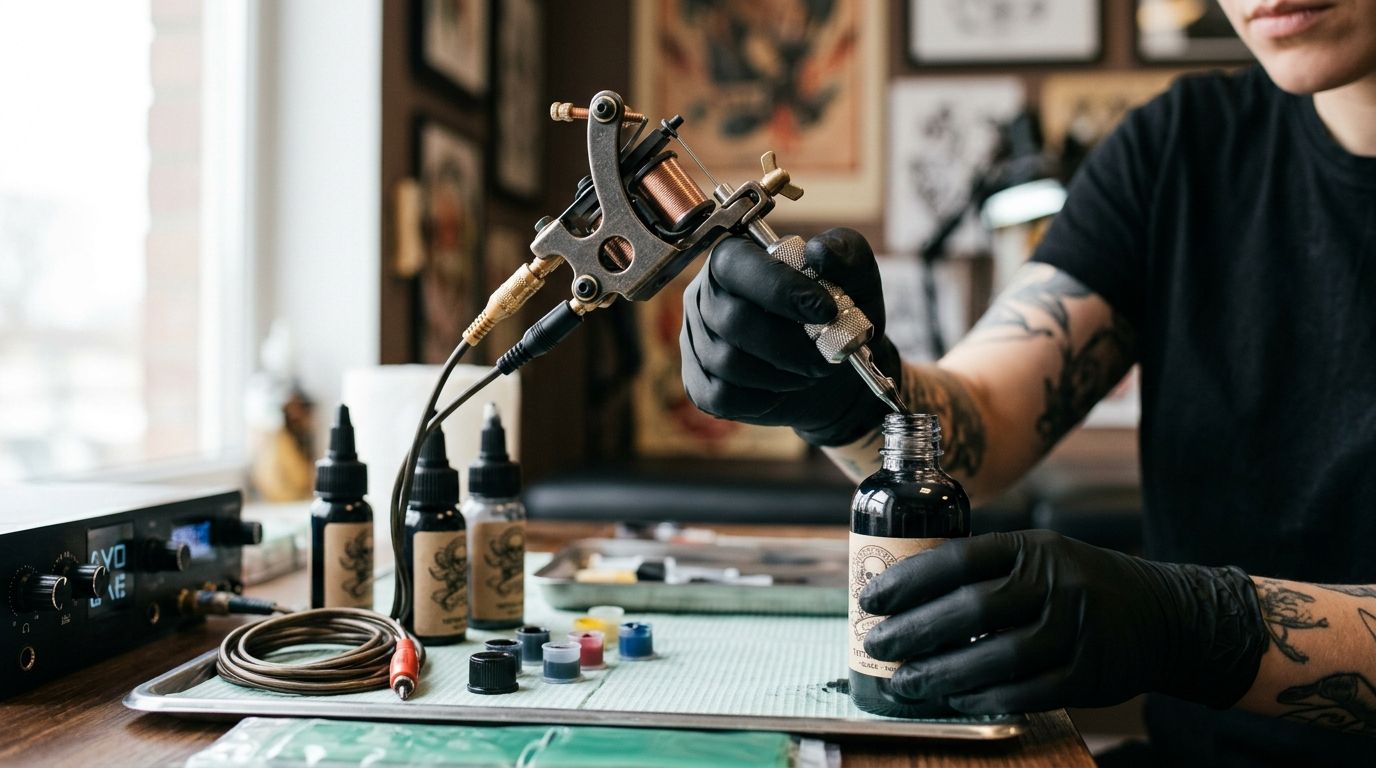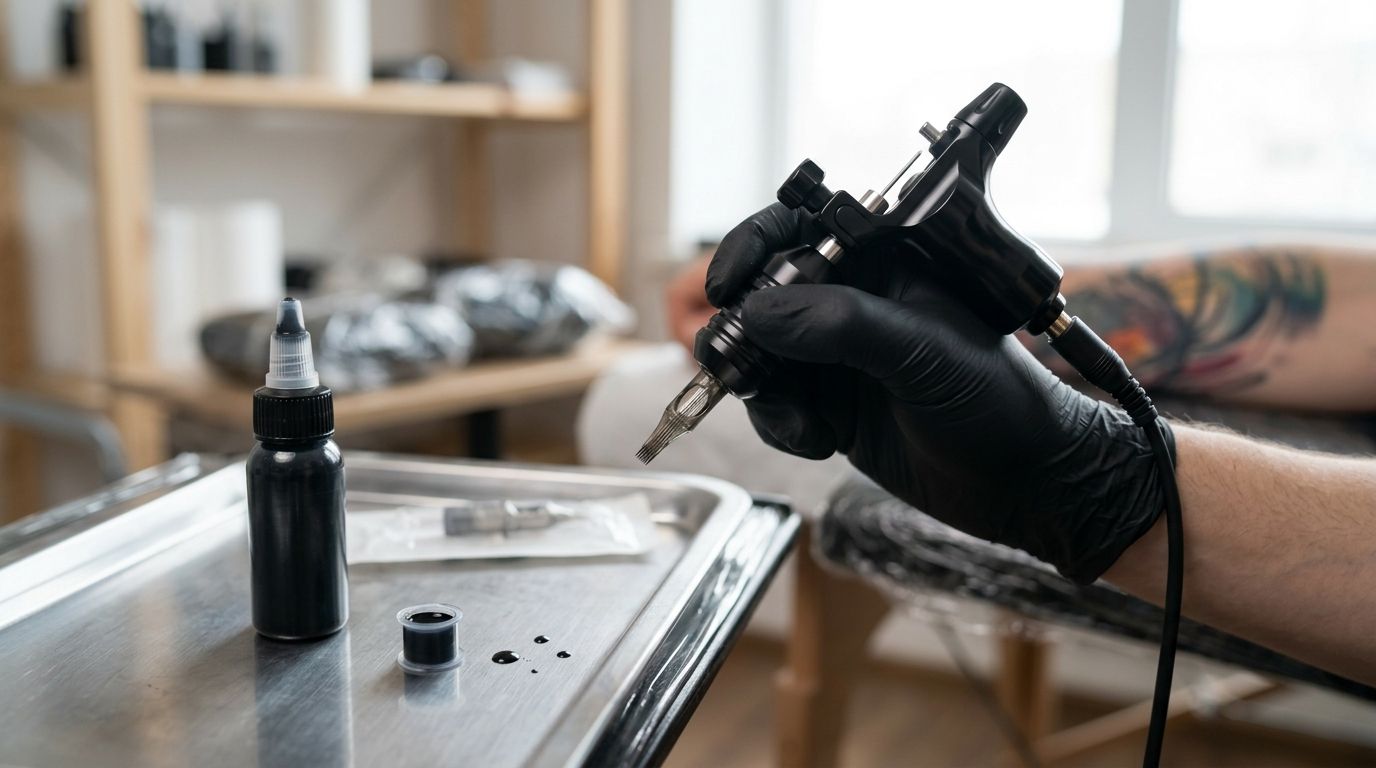
Dipping a cartridge and hoping the color deposits evenly wastes ink and leaves you touching up patchy blowout six weeks later. Set the membrane, voltage, and stroke length on your rotary machine before the first line, and Intenze ink saturates in one controlled pass instead of three overworked ones.
- Seat the cartridge membrane fully before dipping — this is the step behind most rotary saturation problems in 2026 client sessions.
- Run 6-7 volts for lining and 7-9 volts for shading; voltage and stroke length only behave correctly once needle grouping matches the pass.
- For grey wash, dilute Intenze black ink with distilled water in the cap — dropping voltage to fake lighter saturation blows out the line instead.
- Bubbling in the ink cap mid-session almost always means a failed membrane, not a bad batch of ink.
Why this matters
A rotary machine that's dialed correctly does the saturation work for you. One that isn't makes you compensate with extra passes, heavier hand pressure, or more ink than the piece needs — all three show up as trauma and uneven healing later. Getting the tattoo ink rotary machine saturation setup right once, per configuration, saves rework on every session after it.
Intenze has been formulated for machine work for 30+ years, and the viscosity is built to run through cartridge systems without constant re-thinning mid-session. That only matters if the mechanical side — membrane, voltage, stroke length — is set up to let the ink do its job. Check the full ink lineup before you lock in a cap-to-cartridge ratio for a new configuration.
Before you start
- Sterile cartridge needles in the configuration matched to the pass: liners for outline, magnums or shaders for fill.
- A fresh ink cap per color, taped or seated in a cap holder — never shared across colors mid-session.
- A rotary machine with adjustable Voltage and Stroke Length dials, and a grip that takes the cartridge with zero play.
- The gotcha: the cartridge's internal membrane has to seat against the needle bar before you dip. Dip first and ink backflows into the grip instead of the tube — and you won't notice until the grip is coated.
Set up your ink cups
- Pour Intenze ink into individual caps, filling each about a third full — enough to dip without submerging the cartridge tip past the vent hole.
- Space the caps so the tube never crosses over a different color while dipping.
- Cover unused caps between passes. Ink left open for over an hour picks up airborne contaminants and thickens, which changes how it saturates.
Expected result: each color stays isolated and at consistent viscosity through the whole session.
Load the cartridge and check the membrane
- Insert the cartridge into the grip until it clicks past the retaining collar.
- Push the needle bar forward by hand and confirm the membrane flexes and returns — this seal is what keeps ink from traveling back into the grip.
- Confirm the needle sits square in the tip with no visible wobble.
Expected result: the cartridge holds ink in the tube with zero backflow when you dip.
Dial in voltage and stroke length
- Set the Voltage dial to 6-7 volts for outline work with a liner cartridge.
- Increase to 7-9 volts for shading and packing with magnums or shaders — standard rotary ranges, adjusted for skin and needle grouping.
- Set the Stroke Length dial shorter for detail line work, longer for saturation and blackout passes.
Expected result: the needle travels far enough past the tip to deposit ink without dragging skin.
Run your first saturation passes
- Dip the cartridge tip into the cap until ink reaches the vent hole, no deeper.
- Wipe the tip once against the cap rim to remove excess before it touches skin.
- Run a single pass at a steady speed and check saturation on a stretched section before committing to a full line.
- Re-dip every three to five inches of line — more often on shading passes, which draw more ink per stroke.
Expected result: solid, even color deposit with no gaps, no pooling, and no blowout at the edges.
Diluting for grey wash and shading
Don't try to get lighter saturation by dropping voltage — that underpowers the needle and blows out the line instead of softening it. Dilute Intenze black ink with distilled water directly in the cap, mixing in small increments and testing on practice skin before running it on a client. Keep diluted caps labeled; once mixed, grey wash dilutions don't match batch to batch by eye alone.
Artists running their first solid-black sessions in 2026 tend to get more consistent saturation by starting with a straightforward liner configuration before moving into magnums. The best tattoo ink for beginner artists guide breaks down which cartridge and ink pairings forgive machine-setup mistakes best while you're still dialing in voltage by feel.
“Membrane failure is the single most common reason artists blame the ink for blowout — check the cartridge before you check the bottle.”
Troubleshooting
- Ink beads on the skin instead of soaking in — the cartridge is underfilled. Re-dip more often, not deeper.
- Blowout at the edges of thick lines — voltage is too high for the needle grouping, or stroke length is set too long for the depth you're working.
- Ink backflows into the grip mid-session — the membrane failed or wasn't seated at load. Swap the cartridge; don't push through it.
- The cap starts bubbling or foaming — same membrane failure, showing up in the cap instead of the grip. Check the cartridge, not the ink batch.
- Color looks lighter than expected once healed — saturation was thin at the time of tattooing. The fix is more deliberate passes at the next session, not a different ink line.
Customize your workflow
Once the rotary saturation setup is dialed for one configuration, the same voltage-and-stroke logic carries to every other needle grouping you run — you're just adjusting within known ranges instead of guessing from zero. If you're weighing how Intenze saturation behaves in a rotary machine against other professional lines before standardizing studio inventory, the professional tattoo ink brands compared breakdown covers viscosity and cap behavior side by side.
Studios stocking for multiple artists or multiple locations in 2026 typically standardize on one voltage range per needle grouping across the shop, so saturation stays consistent no matter who's running the machine that day.
Stock ink for the whole studio
Compare formats and volumes built for multi-artist and multi-location supply.
FAQ
What voltage should a rotary machine run for tattoo ink saturation?
Most rotary machines run 6-7 volts for lining and 7-9 volts for shading or packing in 2026, adjusted for needle grouping and skin. Voltage that's too high for the configuration causes blowout rather than better saturation.
Why does ink back up into the cartridge grip?
The cartridge's internal membrane failed or wasn't seated before dipping, letting ink travel past the seal into the grip. Swap the cartridge instead of continuing the session with it.
How often should you re-dip a cartridge during a line?
Re-dip roughly every three to five inches of line, more frequently for shading passes that draw more ink per stroke. Running dry between dips is a common cause of thin, patchy saturation.
Is Intenze ink better for rotary machines than other tattoo ink brands?
Intenze is formulated for cartridge and rotary systems with 30+ years of professional use behind the formulation, and it's REACH-compliant and manufactured sterile. Comparing viscosity and cap behavior against other lines side by side is the more useful test than a blanket claim.
How do you dilute black ink for grey wash in a rotary setup?
Dilute Intenze black ink with distilled water directly in the cap in small increments, testing on practice skin before use on a client. Lowering machine voltage to fake a lighter tone underpowers the needle and blows out the line instead.
What causes bubbling in the ink cap mid-session?
Bubbling or foaming in the cap is almost always a failed cartridge membrane, not a problem with the ink itself. Replace the cartridge and check the new one's membrane before continuing.
Does stroke length affect ink saturation?
Yes — stroke length controls how far the needle travels past the tip on each cycle, which directly affects how much ink deposits per pass. Shorter strokes suit detail line work; longer strokes suit saturation and blackout.
Can you use the same voltage setting for every needle grouping?
No. Liners, magnums, and shaders each need their own voltage range within the 6-9 volt window most rotary machines use, and running one setting across all groupings is a common cause of inconsistent saturation.
One last thing
Most artists troubleshoot a bad saturation session by second-guessing the ink batch. Check the cartridge membrane first — it's the failure point behind backflow, cap bubbling, and inconsistent deposit far more often than the pigment itself, and it's the fastest thing to rule out before you touch voltage or stroke length again.