A stencil that shifts halfway through a sitting costs you the line work you already committed to skin — not a five-minute fix with a fresh alcohol wipe. The stencil stuff tattoo transfer workflow locks the guide line down before the machine ever touches it, so the outline the client approved is the outline that actually gets tattooed.
- The stencil stuff tattoo transfer workflow pairs full skin drying, a thin transfer solution layer, and a lock-down step to stop stencil shift before the machine starts.
- Skipping the air-dry window after the alcohol wipe is the top cause of stencil bleed in 2026 studios, not the transfer solution itself.
- Reapplying a stencil mid-session after a wipe-down follows a shorter version of the same workflow — skip a step and the second transfer ghosts.
- A locked-down stencil only holds value if the ink packed into it is batch-consistent bottle to bottle, which is where supplier standardization matters.
- Best for studios running detailed line work and color packing sessions where a shifted guide line means redoing the outline mid-appointment.
Why this matters
Stencil shift is the reason artists end up redrawing freehand mid-session under a bright ring light, and freehand corrections rarely match the stencil the client signed off on before the chair. A tight transfer workflow removes that guesswork entirely: skin prep, transfer solution, print alignment, and a lock-down step that survives glove friction, ointment, and the first hour of shading.
The workflow matters as much as what goes into the line once it's transferred. INTENZE has built its reputation on batch-consistent black and color ink holding shape through healing, but that consistency starts with a stencil that didn't move before the first needle pass. A perfect transfer with inconsistent ink underneath still produces an uneven line — the two problems compound instead of canceling out.
Most of what gets blamed on "bad stencil solution" in 2026 is actually a skin-prep problem or a rushed dry window. Fixing the workflow order fixes both at once.
Before you start
- Materials on hand: stencil transfer solution (Stencil Stuff or an equivalent product), a thermal stencil printer or copier with stencil paper, isopropyl alcohol for skin prep, a disposable razor, and a clean applicator or a fresh pair of gloves for the transfer step itself.
- A separate glove change between skin prep and transfer — carrying alcohol or lotion residue on the same gloves into the transfer step is a quiet way to blow a stencil before you even notice.
- The gotcha: applying transfer solution to skin that's still wet from the alcohol wipe is the single most common cause of a blown stencil. Let the skin air-dry completely before the transfer solution goes on, even if that costs an extra two minutes you feel like you don't have.
Prep the skin and shave the area
- Shave the tattoo area with a fresh disposable razor, working with the grain to avoid razor burn that will fight the stencil later.
- Wipe the shaved area with isopropyl alcohol and let it air-dry fully. Do not towel it dry, and do not rush this — a damp surface is where most transfer problems start.
- Check the skin under direct light for lotion, sunscreen, or oil the client applied before arriving. Re-wipe if you see any sheen at all.
Expected result: skin is dry, matte, and free of any residue before solution touches it.
Print and align the stencil
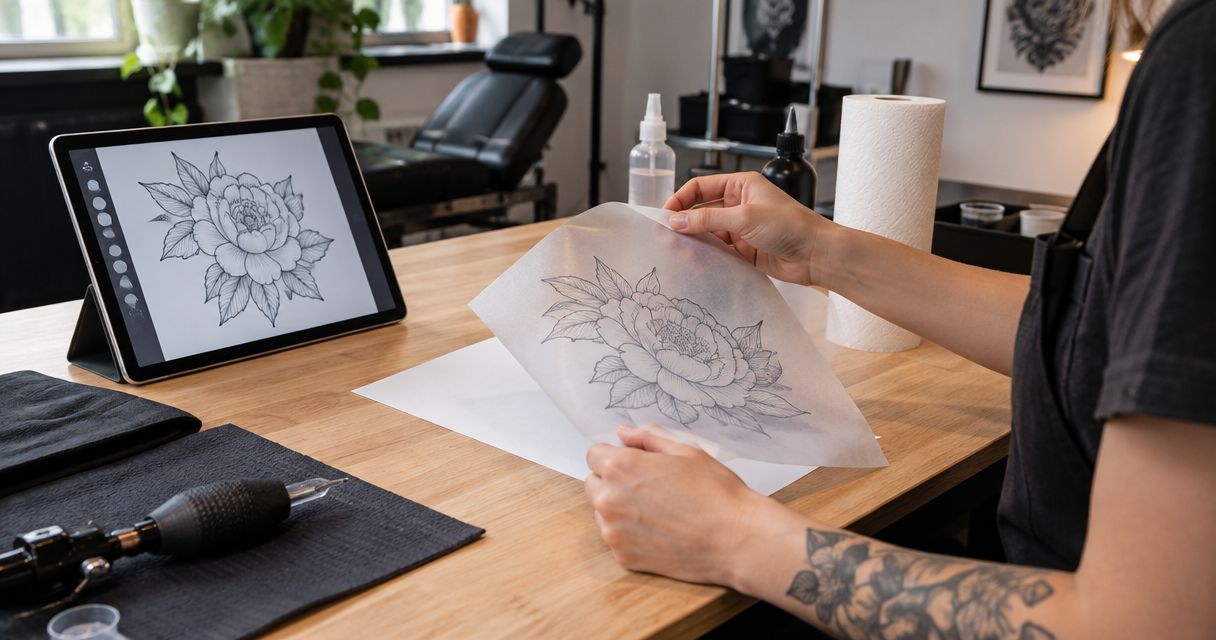
- Print the design on stencil paper sized to the actual placement, adjusting scale in your printer or copier settings before printing rather than trimming after.
- Dry-fit the printed stencil against the placement while it's still on paper — check proportions against the limb, torso, or joint line before committing any solution.
- Trim excess paper margin so it doesn't catch on clothing, a chair arm, or a glove edge mid-transfer.
Expected result: a correctly scaled stencil that matches the placement, still on paper, not yet transferred to skin.
Apply Stencil Stuff and transfer
- Apply a thin, even layer of transfer solution to the prepped skin using a gloved hand or applicator. Thin beats thick here — excess solution pools under the paper and blurs the line on contact.
- Press the stencil paper onto the skin firmly, working from the center outward to push out trapped air rather than pressing edges first.
- Hold pressure for the full contact window before peeling. Pulling the paper early is the second most common cause of a broken or doubled line, right behind skipping the dry step above.
- Peel the paper back slowly in one continuous motion, checking the line as it releases rather than waiting until the whole sheet is off to notice a gap.
Expected result: a solid, unbroken guide line on the skin with no gaps, doubling, or smearing.
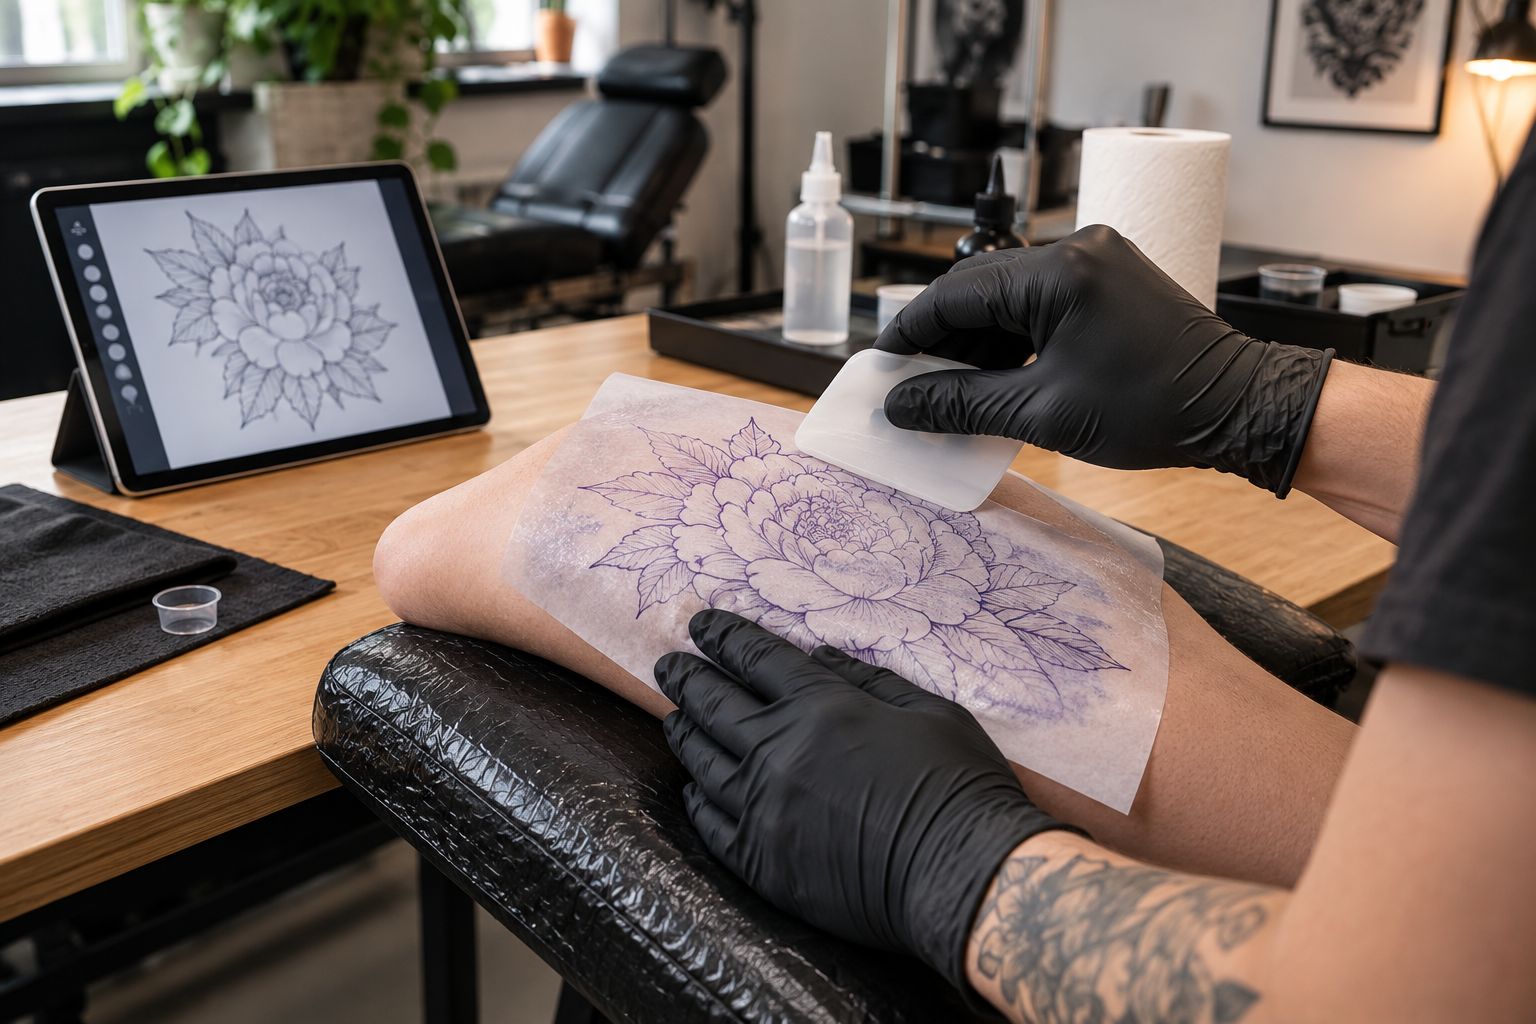
Lock the stencil before the machine starts
- Let the transferred line air-dry for a moment before any ointment, barrier film, or glove touches it again.
- Apply only a thin barrier of stencil-safe ointment once the line has fully set. Heavy ointment on a fresh transfer is what "melts" a stencil mid-outline, and it's a mistake that shows up an hour into the session, not immediately.
- Do a final visual check against the original print or a reference photo before picking up the machine.
Expected result: a stencil that holds through the entire first pass of the liner without wiping away on the first cleanup swipe.
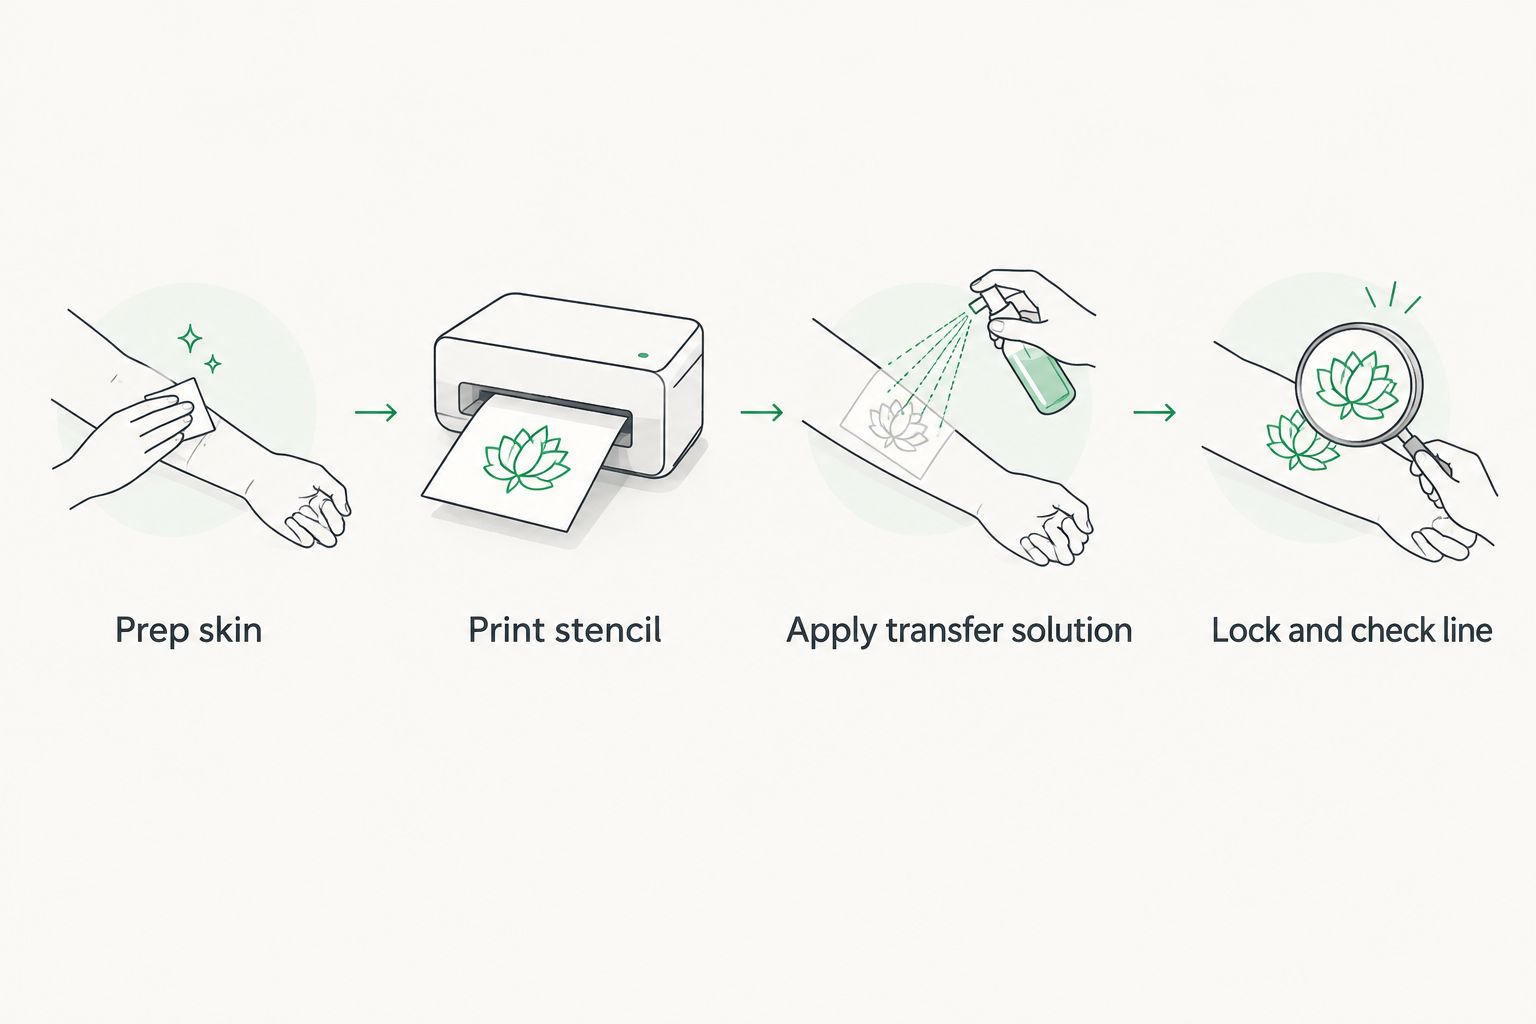
Reapplying a stencil mid-session after a wipe-down
Long sessions and heavy color packing wipe stencils out before the outline is even finished. The fix is a shorter version of the same workflow, not a full fresh stencil from scratch.
- Wipe the area clean and let it dry fully — the same drying discipline from the first step still applies here.
- Reprint only the missing section if the design allows it, rather than reprinting and repositioning the entire sheet.
- Reapply a thin layer of transfer solution to just that section and transfer it the same way as the original.
This variant only works if the surviving stencil lines are still visible enough to align the reprint against. If the whole line has faded past recognition, start the full workflow over rather than guessing at placement from memory.
Troubleshooting
- Stencil ghosts within the first 20 minutes: usually a skin prep issue, not a solution issue. Check for lotion, sunscreen, or oil residue before blaming the transfer solution itself.
- Line bleeds under plastic wrap: too much solution was applied, or ointment went on before the transfer fully set. Thin the layer next time and extend the wait before wrapping.
- Stencil won't transfer at all: the paper wasn't pressed with even pressure across the whole design, or the printer toner didn't lay down heavy enough. Check your thermal copier's density setting before assuming the solution is at fault.
- Line looks doubled or smeared: the paper shifted during the peel. Anchor one edge and peel in a single slow motion instead of lifting from a corner and working across.
- Ink won't grip cleanly over the line during the first lining pass: transfer solution residue is still tacky. Let it fully air-dry, or wipe lightly with dry gauze before the first pass rather than pushing through it.
Customize your workflow
The transfer workflow only gets you to a clean line on skin — what holds that line through healing depends on the ink packed underneath it. A black line laid over a well-set stencil still needs to be batch-consistent from bottle to bottle, which is the real argument for standardizing on one supplier rather than mixing two or three brands to cover different artists' preferences in the same book. Compare professional tattoo ink brands side by side if your studio is still stocking multiple lines for that reason.
Studios running color packing right after a stencil transfer should also standardize the dry time between the outline and the first color pass — solution that hasn't fully cured pulls color unevenly, and that shows up as a patchy pack rather than a stencil failure. INTENZE's professional lines are built around that kind of back-to-back session work, with the same batch-to-batch consistency professional artists have relied on for 30+ years of use in studios.
Distributors stocking for studios that run high volume in 2026 should treat the transfer workflow and the ink line as one purchasing decision, not two separate ones — a studio that standardizes both at once has fewer callback complaints tied to either.
Stock consistent tattoo ink
Browse INTENZE's professional line built for batch-to-batch consistency.
FAQ
What is Stencil Stuff used for in tattooing?
Stencil Stuff is a transfer solution applied to prepped skin to hold a thermal-printed stencil in place through the tattoo session. It replaces older methods like deodorant stick or soap-based transfers with a purpose-built solution.
How long should skin dry before applying transfer solution?
Skin needs to be fully air-dried after the alcohol wipe before any transfer solution goes on. Applying solution to damp skin is the most common cause of a blown or smeared stencil in the stencil stuff tattoo transfer workflow.
Can you tattoo directly over stencil transfer solution residue?
Residue that's still tacky will interfere with the first lining pass and cause the needle to drag. Let the transferred line fully set before starting, or wipe lightly with dry gauze first.
How do you stop a tattoo stencil from shifting during a long session?
Full skin prep, a thin even layer of transfer solution, firm center-to-edge pressure during transfer, and a proper lock-down step before ointment all reduce shifting. Rushing any one of those steps is what causes shift, not the specific product used.
What causes a stencil to bleed or blur under plastic wrap?
Bleeding under wrap usually means too much solution was applied or ointment went on before the line fully set. Thinning the solution layer and extending the dry window before wrapping fixes most cases.
Is the stencil transfer step separate from ink quality?
They're connected, not separate. A clean, locked stencil gives the artist an accurate line to follow, but batch-consistent ink is still what keeps that line solid through healing.
Can you reapply a stencil mid-session without starting over?
Yes — wipe the area, let it fully dry, reprint just the faded section if the design allows it, and transfer that section using the same thin-layer method as the original stencil.
One last thing
The two-minute dry window after the alcohol wipe is the step every rushed session skips first, and it's the one that actually determines whether the stencil survives the full hour — not the brand of solution in the bottle. Slow that one step down and most "bad stencil" complaints disappear before a new ink cap ever gets opened.