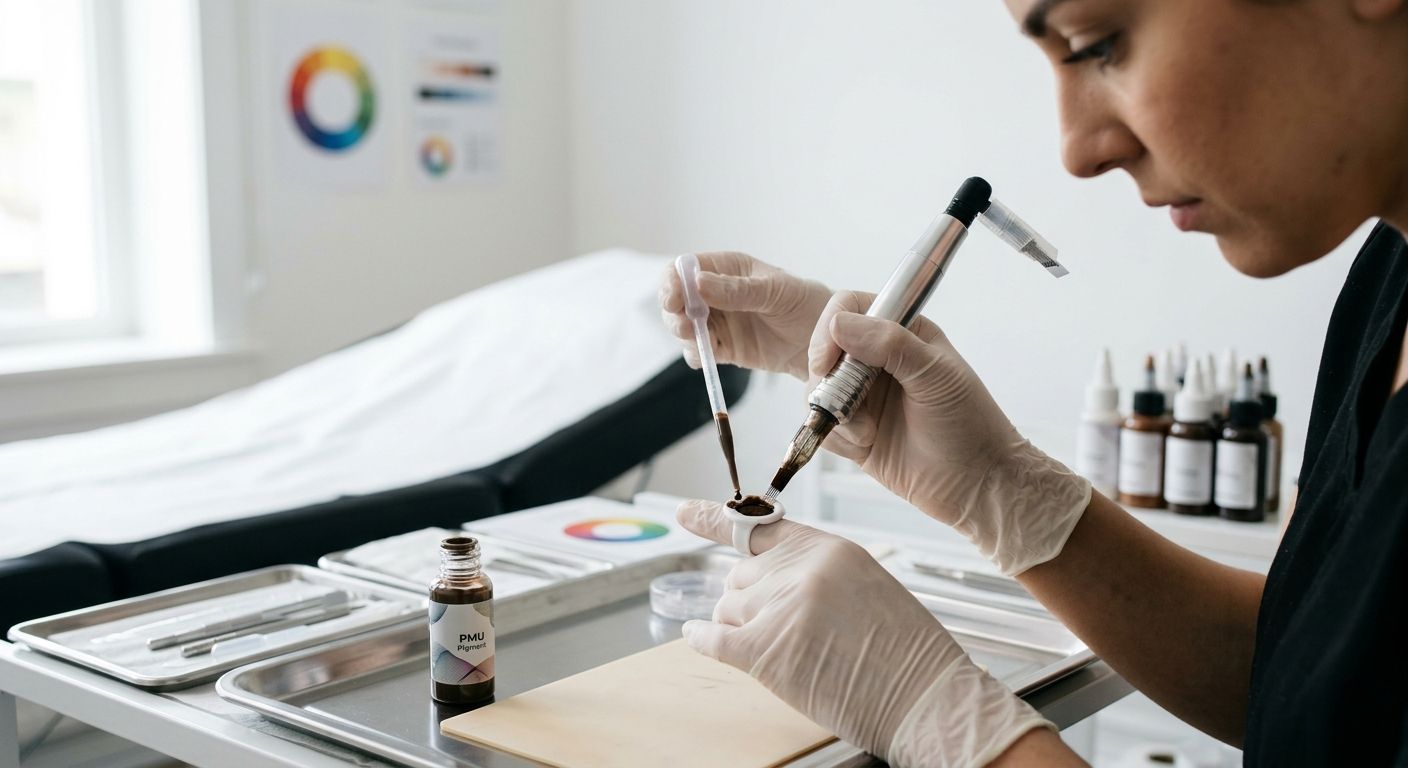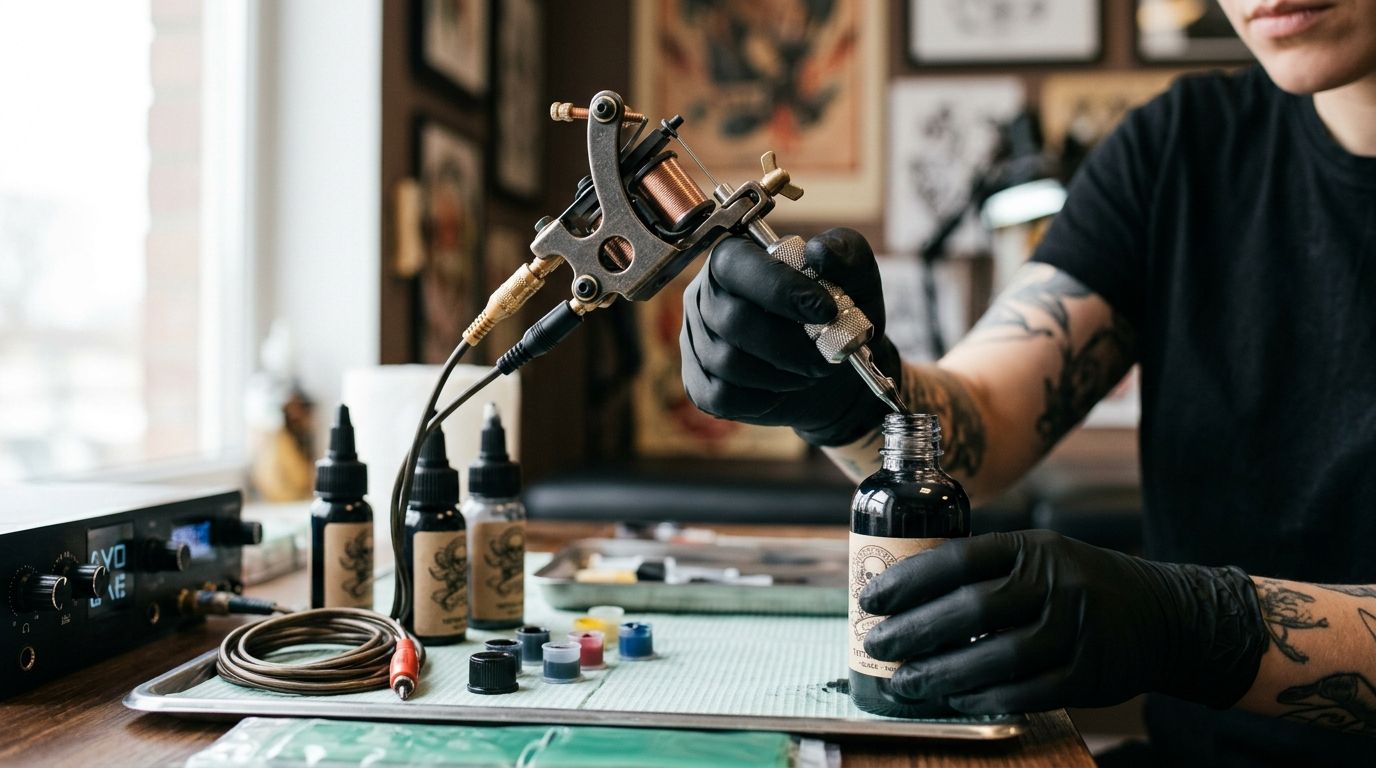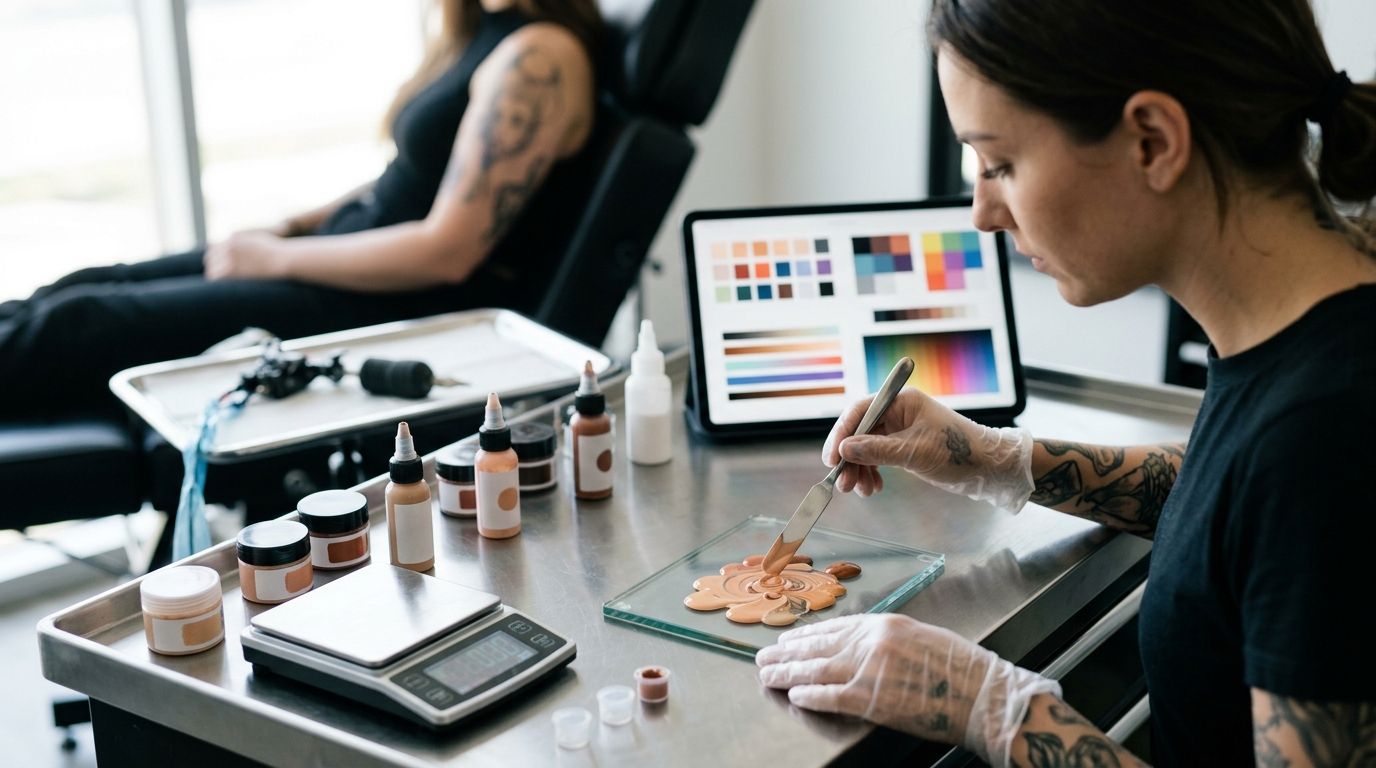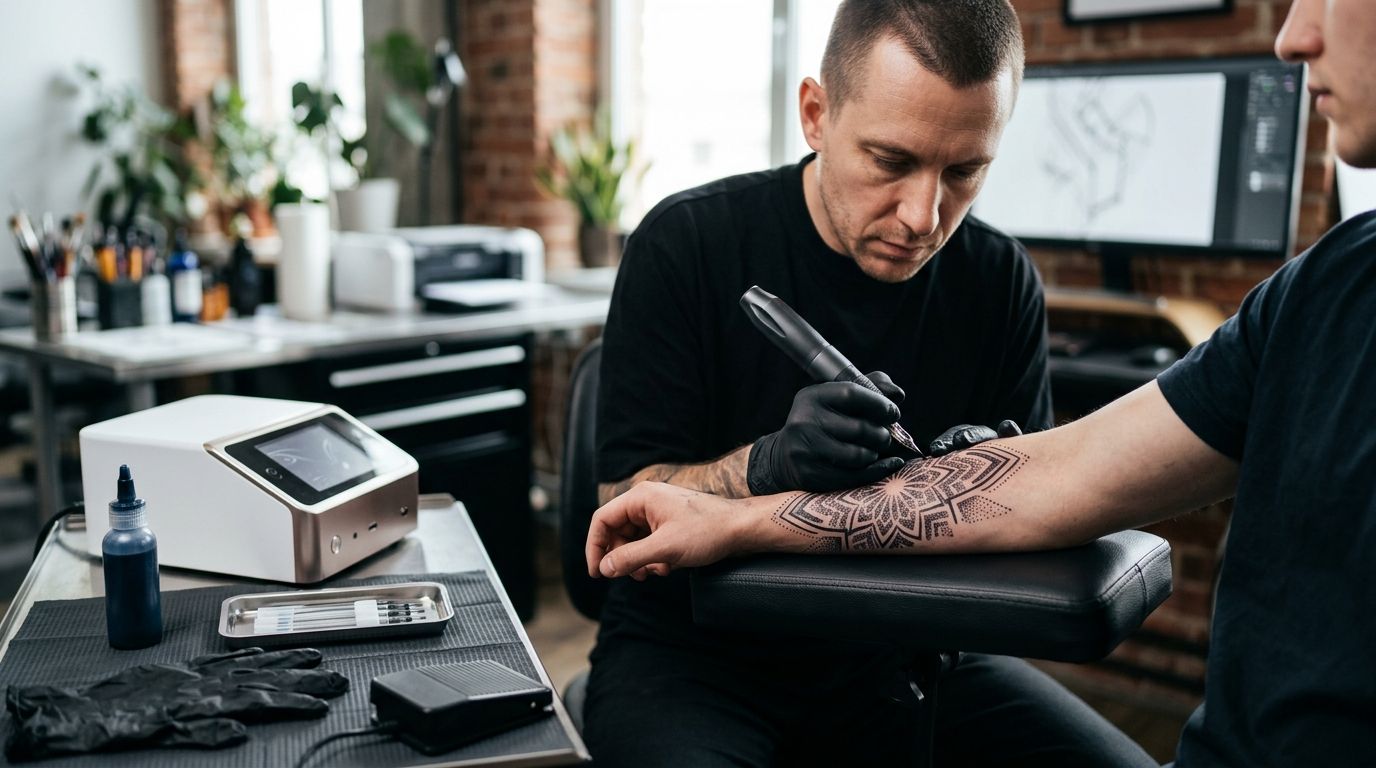
Instead of redrawing a fading guide while you tattoo, set up the Electric Ink stencil transfer workflow so placement is checked before the first line and the reference stays available throughout the session. In 2026, zero-touchup lines are a preparation goal, not a promised result: the transfer gives you a guide, while clean execution still depends on placement, skin preparation and technique.
- The electric ink stencil transfer workflow starts with a clean reference, prepared skin and a placement check before tattooing.
- INTENZE professional tattoo ink fits artists and distributors planning ink supply alongside a controlled stencil workflow; it does not fix a poor transfer.
- If the stencil smears or shifts, correct it before the first line rather than trying to follow an unreliable guide.
- Keep the original design visible after transfer so you can check details without touching or redrawing the working stencil.
Why this matters
A stencil is useful only while its placement and detail remain readable. Losing part of the guide can force an artist to pause, reconstruct a line from memory or reassess the design mid-session. Treat transfer quality as a separate check from ink selection; changing ink will not correct a misplaced stencil.
For distributors, the distinction matters when discussing supplies with studios. The INTENZE professional tattoo ink range belongs in the ink-purchasing decision, while transfer materials belong in the preparation decision. INTENZE has 30+ years of professional artist use, but that history is not evidence that any stencil-transfer method guarantees a particular line or healed result.
This 2026 guide covers a practical transfer-first sequence. Use the instructions supplied with your specific transfer materials and follow your studio’s hygiene procedures whenever they require a different preparation or handling step.
Before you start
- Prepare the design and a separate reference. Keep one clean copy available for checking small details after the transfer. Confirm that the stencil is the correct orientation before anything touches the client’s skin.
- Set out the materials your approved process requires. Have the stencil, transfer medium, disposable application materials and your usual skin-preparation supplies ready. Check the transfer medium’s label for application and setting instructions; this guide cannot substitute for that product’s directions.
- Resolve the placement decision first. Agree on position and orientation before applying transfer medium. The mid-setup trap is discovering a mirrored or poorly positioned design after the transfer has begun; correcting it requires a fresh placement check, not tracing over a compromised guide.
Best for: artists transferring an approved design before lining. This process helps preserve a readable plan; it does not remove the need to adapt to the client’s anatomy or the skin in front of you.
Prepare the design and skin
1. Confirm the design orientation
Compare the stencil with the approved reference. Check directional elements, lettering, edge details and the area that must align with the body. If the design has text, verify its readable orientation on the client rather than judging it from the transfer sheet alone.
Expected result: you know where the design sits and which way every directional element faces. In a 2026 studio workflow, this check belongs before application, when changing orientation is still straightforward.
2. Prepare the application area
Follow your studio’s skin-preparation protocol and the instructions for the transfer materials in use. Keep the working area organized so the prepared surface does not come into unnecessary contact with hands, tools or a reference sheet.
Do not assume that adding more transfer medium will make a weak preparation step work. The application needs to match the medium’s directions; excess material can leave a less readable guide. Expected result: the surface is ready for the specified transfer process, and the design can be placed without another search for supplies.
3. Dry-fit the placement
Hold the stencil at the intended position without committing the transfer. Check the design against the client’s natural posture and the agreed placement, including how the relevant area looks when the client changes position. Ask for a placement decision now, not after tattooing starts.
Expected result: the artist and client agree on location and orientation. If either changes, repeat the placement check before applying the transfer.
Apply and verify the transfer
4. Apply transfer medium as directed
Use the amount and method specified for the particular transfer medium. Keep your application controlled across the intended design area; avoid improvising a setting time or treating instructions for another product as interchangeable.
Expected result: the prepared area is ready to receive the stencil according to the material’s directions. This is a materials check, not proof that the transferred design will be correct.
5. Place the stencil once, then inspect
Align the stencil to the placement you approved during the dry fit. Apply it using the handling instructions for your materials, then inspect the transferred lines before moving on. Look for missing details, doubled edges, smears and areas that no longer match the reference.
Expected result: the transferred guide is readable where the artist needs it. If a critical line is unclear, stop and correct the transfer through your approved process. Do not tattoo a guessed line and call it a stencil fix.
6. Let the transfer settle as instructed
Follow the transfer medium’s stated handling instructions before contacting the guide with other materials. Keep the separate design reference visible without placing it on the prepared area. A transfer that looks correct immediately still needs to remain legible when you begin work.
Expected result: you can identify the intended lines from the stencil and check fine details against the untouched reference. For another approach to placement and transfer checks, see the stencil transfer workflow guide.
Set up the first line
7. Check the guide before loading ink
Choose a clear starting area and compare it with the reference. Identify sections where skin movement or your working position might obscure the stencil, then plan how you will keep the original design in view. This is a drawing and access decision, not a reason to press harder or change the line without checking.
Expected result: you know which line you intend to make first and can still read its path. If you cannot, pause and resolve the guide before you start.
8. Keep machine setup separate from transfer setup
Select and set up your equipment under your studio’s procedures. The stencil tells you where the approved design sits; it does not specify machine settings, needle selection or how a particular person’s skin will respond. Review the rotary machine and ink workflow separately rather than using a transfer problem to diagnose equipment performance.
Expected result: the reference, transfer and equipment setup have each passed their own check. INTENZE professional tattoo ink is an ink-supply choice, not a substitute for any of those checks.
9. Recheck as you progress
Compare remaining stencil detail with the clean reference whenever the working area changes. If a section becomes unreadable, stop and decide how to restore a reliable guide under your studio’s procedure. Avoid treating memory of the drawing as equivalent to an approved, visible reference.
Expected result: each new section begins with a clear design decision. A 2026 workflow can aim to avoid preventable redraws, but it cannot promise that every line will need no adjustment.
A second variant: transfer after a placement change
Sometimes the design is sound but the client and artist agree to move it. Restart the placement check rather than shifting a partially transferred stencil by eye. Follow the applicable preparation and removal instructions for your materials and studio before making a new transfer.
| Workflow | Best for | Advantage | Limitation |
|---|---|---|---|
| Transfer-first placement | An approved design and agreed position | Gives the artist a visible guide to inspect before lining | A smeared or misplaced transfer must be addressed before work starts |
| Reposition-and-retransfer | A design whose position changes before tattooing | Gives the revised position its own placement check | Requires the artist to reassess the area and repeat applicable preparation steps |
For the reposition-and-retransfer variant, return to the reference, confirm orientation at the new location and repeat the dry fit. Then apply the transfer according to the materials’ instructions and inspect it as a new guide. Do not assume the earlier placement check remains valid simply because the design itself has not changed.
Expected result: the artist and client can assess the revised position before the first line. Neither variant guarantees how a finished tattoo will heal; they address whether the working guide is usable when tattooing begins.
Troubleshooting the transfer
The stencil is mirrored or lettering reads backward. Stop before tattooing. Compare the stencil with the approved reference in its intended position, then prepare the correctly oriented transfer under your studio’s process. Do not rely on flipping a sheet mid-application without checking how the design will read on skin.
The transfer has doubled edges. Treat the affected lines as ambiguous rather than choosing the edge that looks closest. Review placement and handling, then correct the guide through the process specified for your materials. A clean reference helps you identify what needs to be restored.
A fine detail did not transfer. Check the original design first. If the missing detail is essential to the approved drawing, resolve it before working in that area. Adding a line from memory creates a different risk from restoring a verified reference.
The guide becomes hard to read during work. Pause before starting the next affected section. Compare the visible stencil with your separate reference and use your studio’s procedure for regaining a reliable guide; do not assume changing tattoo ink will bring back a lost stencil.
The placement looks different when the client moves. Reassess it with the client before tattooing that section. Body position can affect how the artist views the design, so use the agreed placement and reference rather than judging a shifted posture in isolation.
These are transfer and placement fixes, not claims about a named transfer product’s performance. In 2026, follow the product instructions in hand rather than a generic timing rule from another artist’s setup.
Customize your workflow
Make the checks repeatable without pretending every design needs identical technique. Keep the design reference separate from the work area, decide when the placement will be approved and record which transfer material your studio uses so its instructions are available at setup. For distributors, separate transfer-material questions from ink-order questions when advising a studio on inventory.
INTENZE is best for distributors and studios seeking professional tattoo ink to purchase alongside a separately managed stencil process. The practical next step is to confirm the studio’s ink requirements, then assess transfer materials on their own instructions and suitability for the intended workflow. Do not present a successful transfer as evidence of ink performance, or an ink purchase as a fix for stencil loss.
Review professional tattoo ink
Assess ink options separately from the stencil materials your studio uses.
FAQ
What is an electric ink stencil transfer workflow?
An electric ink stencil transfer workflow is a sequence for checking design orientation, preparing the application area, placing a stencil and verifying the guide before tattooing. Use the instructions for the specific transfer materials in hand.
Can a stencil transfer guarantee zero-touchup lines?
No stencil transfer guarantees zero-touchup lines. A readable guide reduces avoidable guesswork, but line execution and any later adjustment remain separate decisions.
What should I check before applying a tattoo stencil?
Check the approved design, orientation, placement and material instructions before applying a tattoo stencil. Keep a separate clean reference available for checking details after transfer.
What if a tattoo stencil transfers with doubled lines?
Stop and correct an ambiguous transfer before tattooing the affected area. Compare it with the approved reference and follow your studio’s procedure for restoring a clear guide.
Should I change tattoo ink when a stencil fades?
No, changing tattoo ink does not restore a fading stencil. Treat stencil visibility as a transfer and workflow issue, then evaluate ink selection independently.
Is INTENZE ink part of the stencil transfer medium?
INTENZE sells professional tattoo ink and PMU pigments; the supplied information does not identify its ink as a stencil transfer medium. Keep ink purchasing and stencil-material selection as separate decisions.
One last thing
The most useful safeguard is the untouched design reference. A stencil can show where to work, but the reference lets you check what was approved when a small section becomes unclear. Build that check into the 2026 setup before looking for a different ink to solve a transfer problem.