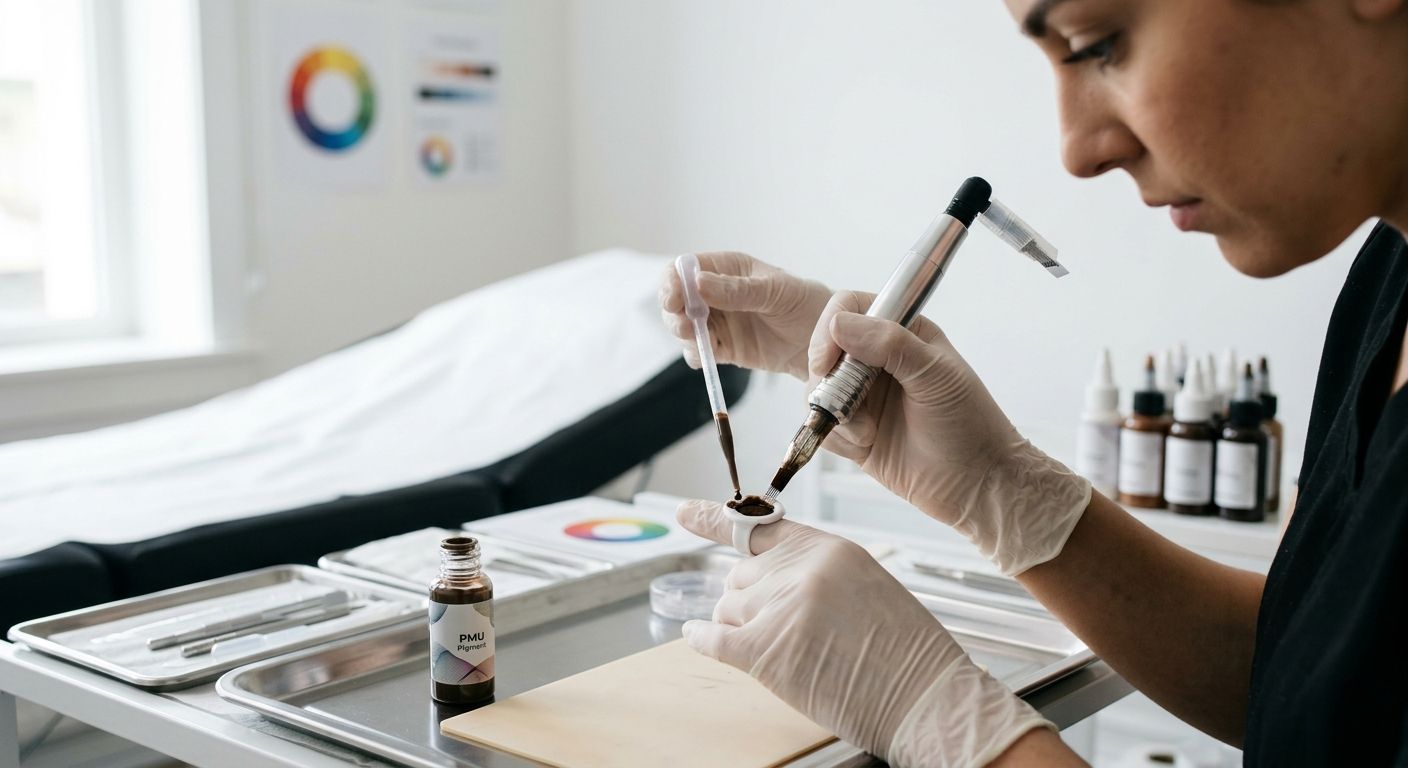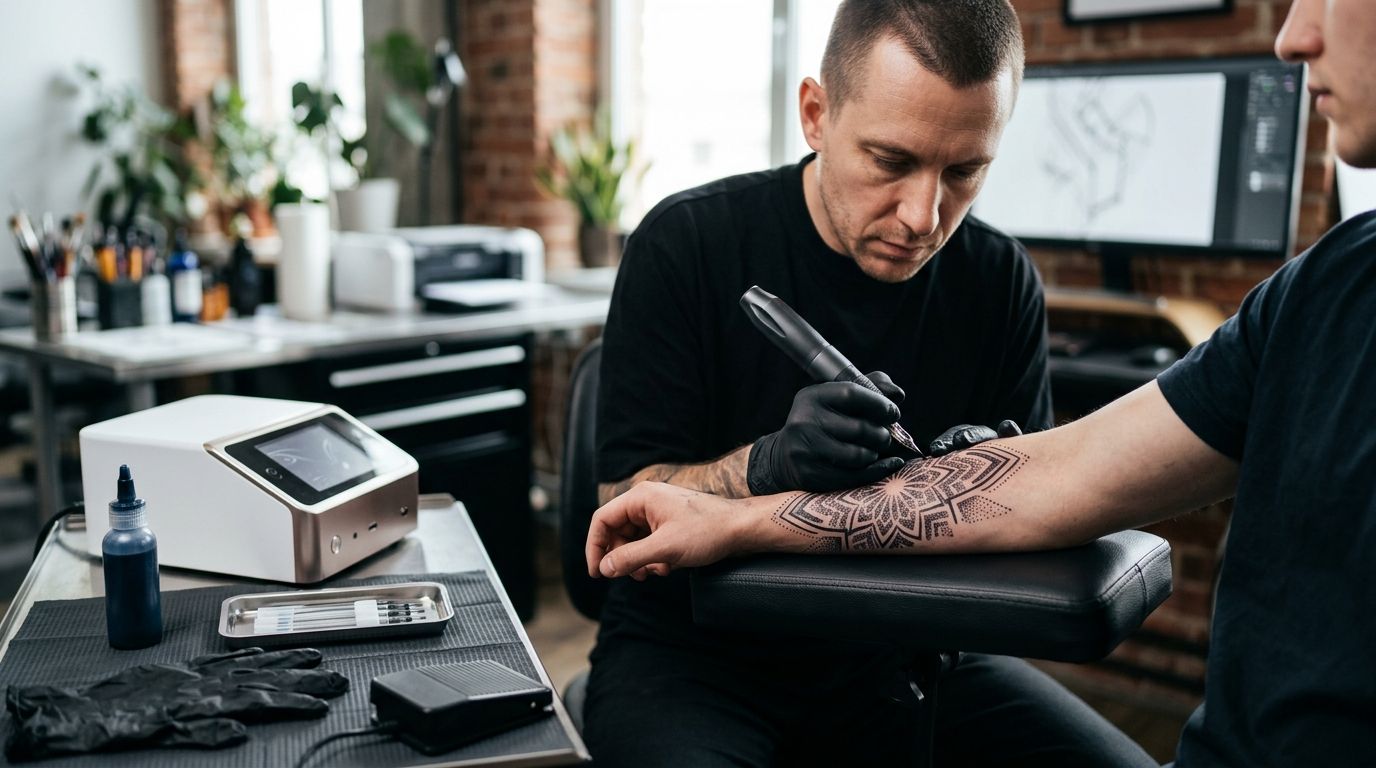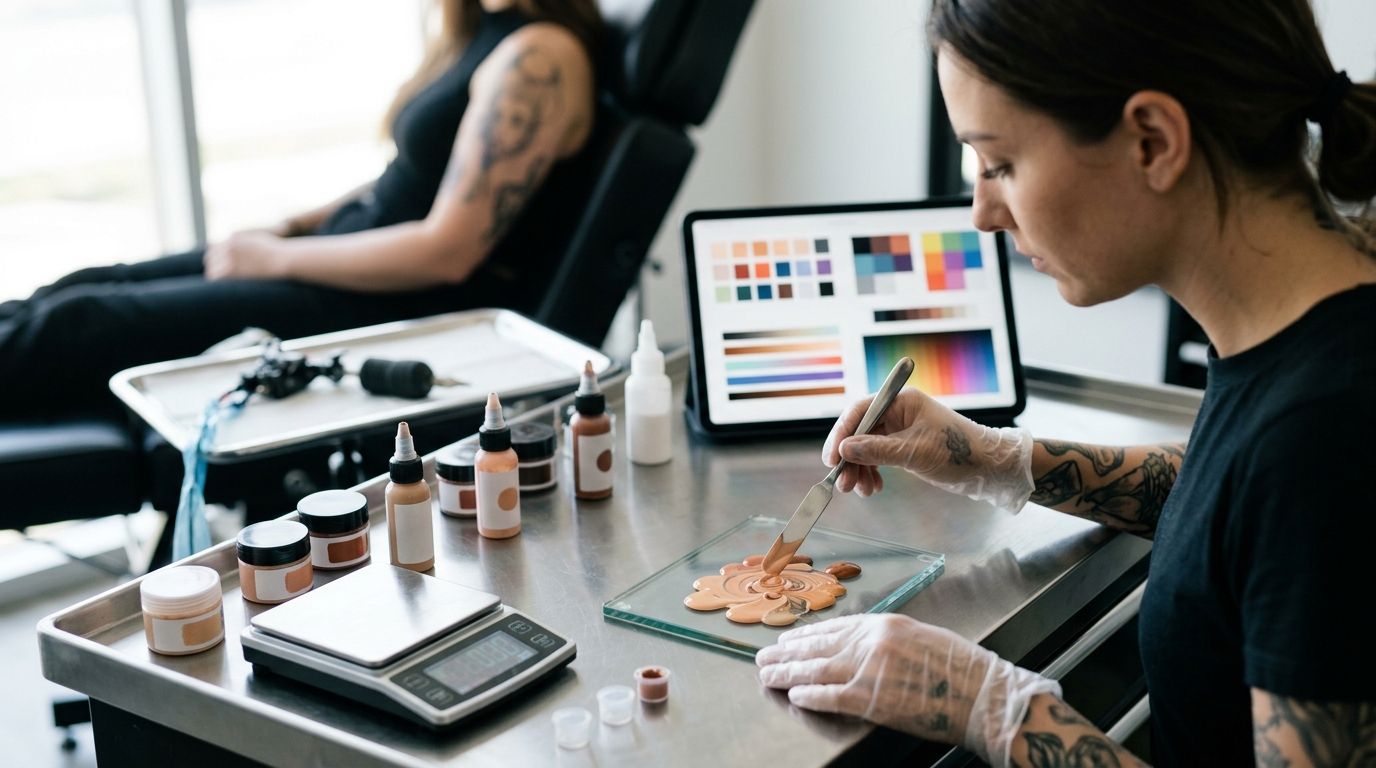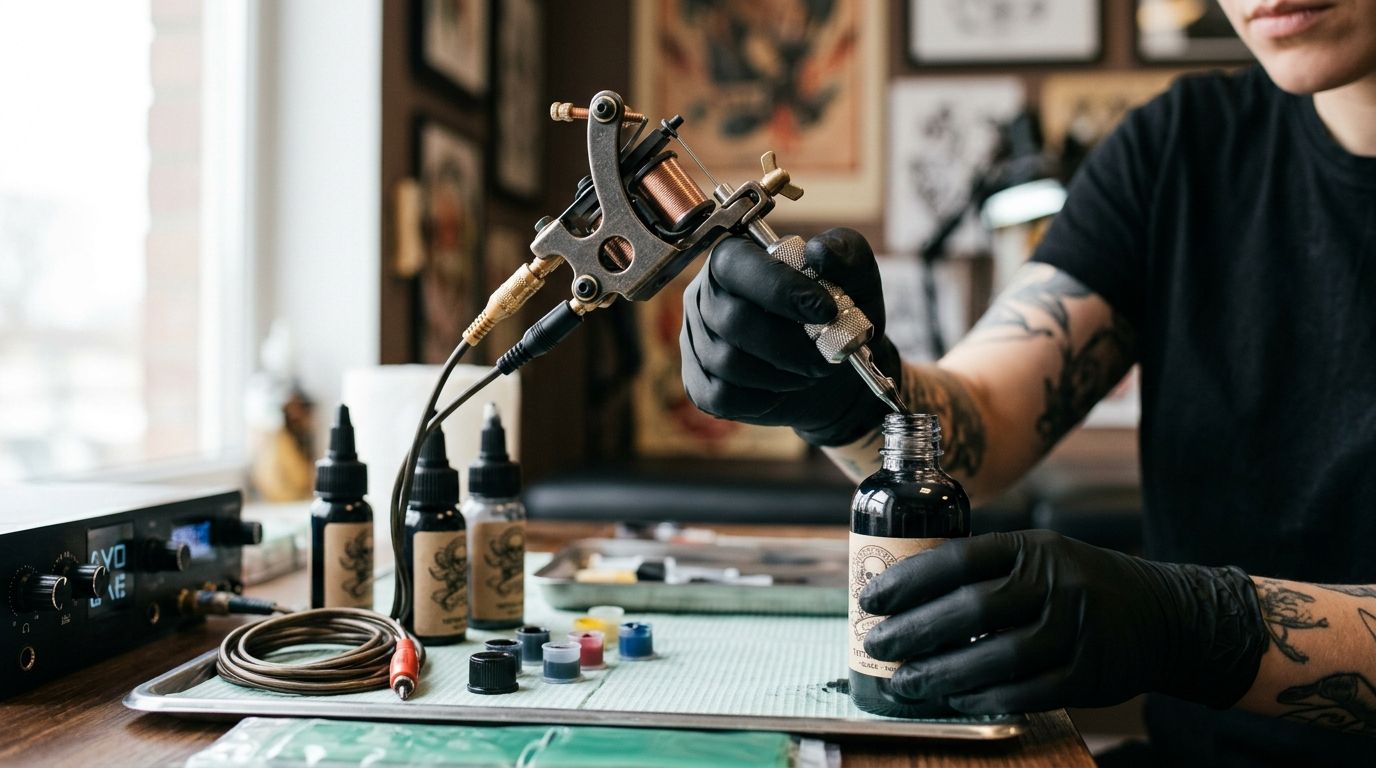
Instead of treating ink as something you connect to a coil machine, set up the machine, needle and sterile ink station separately so you can pack color without contaminating the bottle. This 2026 tattoo ink coil machine setup guide covers the connection, the ink-handling sequence and the checks to make before you work on skin.
- Tattoo ink coil machine setup means connecting the machine to power, then dispensing INTENZE ink into a separate ink cap.
- INTENZE is a practical choice for professional artists and studios that need ink for a controlled coil-machine workflow.
- Never touch a bottle opening with a used glove, needle or ink cap.
- Check the machine manufacturer's instructions before changing electrical settings or fitting a tube and needle.
Why this matters
A coil machine drives the needle; ink sits in a cap at the workstation. There is no ink-to-machine connector. Confusing those systems leads to avoidable problems: a machine that does not run, a needle assembly that does not fit, or a bottle opening exposed to a used glove.
INTENZE brings 30+ years of professional artist use to its tattoo ink range. For a studio or distributor, that history belongs alongside the checks that matter at the station: product identity, intact packaging, handling instructions and a repeatable way to dispense ink. Start with the INTENZE tattoo ink site when selecting stock, then confirm the individual product and its documentation before use.
The setup rule is simple: connect power to the coil machine, fit compatible sterile components, and pour ink into a separate cap. A clean electrical connection does not make an ink station clean, and careful ink handling does not correct a poorly assembled machine. Check both before starting.
Before you start
- Have the complete machine system ready. You need a coil machine, its compatible power supply and connection cable, a foot switch if the supply uses one, and a compatible tube, grip and needle assembly. Follow the instructions for the exact equipment on your bench; connector types and assembly details vary.
- Prepare the ink station. Have the intended INTENZE ink, a clean single-use ink cap, required barriers and personal protective equipment, and the supplies your studio's infection-control procedure calls for. Check the product label, packaging integrity and applicable handling instructions before opening or dispensing.
- Pre-empt the easy-to-miss failure: place the ink cap before handling the bottle, and keep the bottle outside the contaminated work area. If a used glove or needle touches the opening, stop using that bottle for the session and follow your studio's contamination procedure. Do not solve an empty cap by dipping the needle into the bottle.
Do not begin tattooing until you are trained to assemble and operate your specific machine under the rules that apply to your workplace. This guide describes the setup sequence; it does not replace equipment instructions, infection-control training or client assessment.
Connect the power system
- With the supply switched off, identify its machine connection and the matching connection on your coil machine. Inspect the cable and connectors for visible damage. Do not use damaged equipment.
- Attach the machine cable at both ends according to the power supply and machine instructions. If your system uses a foot switch, connect it to the supply's designated foot-switch input. Machine and Foot Switch are common labels, not universal labels; use the wording printed on your own unit.
- Route the cables so a foot pedal or moving hand cannot pull a connector loose. Apply the barriers required by your studio procedure without covering ventilation or interfering with controls.
- Switch on the supply and test the machine away from the prepared ink. Use the manufacturer's procedure to confirm that it runs and stops as expected. Turn it off before adjusting the assembly.
Expected result: the machine starts and stops through its intended control, without an intermittent connection. If it does not, check the power source and each matching connection before changing any operating setting. Do not copy a voltage setting from another artist's machine: the machine, needle configuration and power supply determine the appropriate setup.
Fit the needle and tube assembly
- Confirm that the tube, grip, needle assembly and coil machine are compatible. Keep sterile components in their packaging until your procedure calls for opening them, and inspect each package before use.
- With power off, fit the tube and grip using the machine maker's instructions. Secure the tube so it does not shift when you handle the machine.
- Fit the needle assembly and connect its drive end as specified for that machine. Some coil setups use a grommet and retaining bands; do not add or substitute parts based solely on a photograph of a different setup.
- Check the needle's movement and alignment using the equipment instructions before bringing ink into the workflow. If anything binds, shifts or contacts an unintended surface, switch off and correct the assembly rather than continuing.
Expected result: the fitted assembly remains secure and moves as the machine manufacturer specifies. There is no universal needle projection or power setting for packing. Those choices depend on the equipment, needle grouping and trained technique, not the ink brand.
A useful workstation check keeps the systems separate: trace the power path from supply to machine, then identify the sterile path from packaged components to the working end. The ink path is different again: sealed bottle to clean cap. None of those paths should be improvised to compensate for a fault in another.
Set up the ink station
- Confirm that the selected INTENZE ink is the product you intend to use. Read its label and handling instructions, and check that the packaging is intact. Do not substitute a product because its color looks similar through the bottle.
- Place a clean single-use cap in the prepared station. Keep the cap stable and positioned according to your studio's clean-to-contaminated workflow.
- Handle the bottle with clean gloves or by the method in your studio procedure. Open and dispense it without touching the nozzle to the cap or prepared surface. Close it using the product's handling instructions.
- Keep used needles, caps and gloves away from the bottle opening. If you need more ink after working begins, follow your studio's procedure for obtaining it without carrying contamination back to the bottle.
- Before packing, confirm that the machine works, the needle assembly remains secure, and the intended ink is in the cap. If one check fails, pause. Adding ink does not fix a connection or alignment problem.
Expected result: ink is available in its own cap, the bottle has not touched the working surface, and the assembled machine is ready for the trained artist's final checks. No part of this sequence calls for connecting ink directly to a coil machine.
For 2026 studio inventory, keep product verification distinct from workstation technique. A correct machine setup cannot establish that a bottle is authentic, within its stated use period or suitable for a particular job. Check those points from the bottle and its documentation before allocating it to a station.
Select ink for your stations
Review INTENZE tattoo ink before adding it to your studio purchasing list.
Add another color during the session
Adding another color uses the same bottle-to-cap path, not a new machine connection. Set out a separate clean cap for each color your procedure requires, verify each bottle before dispensing, and keep used equipment away from every bottle opening. Follow your studio's method for changing colors and managing rinse supplies; do not return leftover ink from a cap to its bottle.
This variant matters when a station has several open colors. Label and position caps clearly enough for the artist to distinguish them without guessing. Keep the original container identifiable so the product used can be recorded under your studio procedure. If a cap is spilled or its contents become uncertain, replace it through that procedure rather than treating it as an electrical or machine problem.
For a 2026 distributor order, ask whether a studio needs a broader color selection or repeat quantities of colors already in use. That is an inventory decision, separate from the coil setup. The workstation check stays the same regardless of how many colors the studio stocks: verify the chosen bottle, dispense into a clean cap and protect the bottle opening.
Coil and rotary setups: what changes?
The ink-handling rule stays the same if a studio also uses rotary machines: dispense from the bottle into a separate cap. The machine drive and its compatible components are what change. Use the instructions for the specific machine rather than transferring a coil setup setting to a rotary machine.
| Setup | Machine drive | What to check | Ink-handling rule |
|---|---|---|---|
| Coil machine | Electromagnetic coils drive the mechanism | Cable connection and compatible tube and needle assembly | Dispense into a separate clean cap |
| Rotary machine | An electric motor drives the mechanism | Machine-specific connection and compatible needle system | Dispense into a separate clean cap |
Best for: use the machine your trained artist can assemble, check and operate correctly for the work. Neither drive type makes an ink bottle part of the machine. This comparison describes the setup distinction; it is not a claim that either machine produces a better healed result.
Troubleshooting the setup
The coil machine does not start
Switch off before touching connections. Check that the supply has power, the machine cable is seated in the matching ports, and the foot switch is connected where the supply requires one. If the cable or connector is damaged, remove it from use. Follow the equipment maker's fault procedure rather than increasing a setting to mask a connection fault.
The machine starts, then cuts out
Check for a loose cable connection or a foot switch that does not operate consistently. Keep the test away from ink and the prepared work area. If the connection remains intermittent, stop using the affected component until it is assessed under your studio's equipment procedure.
The needle assembly shifts or binds
Turn off the machine and inspect the fitted components against the manufacturer instructions. Confirm that the tube and grip are secured and that each part belongs with the machine and needle system in use. Replace a damaged or incompatible component; do not treat added ink or a power change as the fix.
Ink reaches the bottle opening from a used item
Stop dispensing from that bottle during the session and follow your studio's contamination procedure. Do not wipe the opening and assume the bottle is fit for reuse. Set up a replacement bottle and clean cap under the applicable procedure before continuing.
The color in a cap is uncertain
Do not identify ink by appearance alone. Replace the uncertain cap, check the original bottle label and dispense again using the clean workflow. Keep the product identifiable for the studio's session record. This is especially important when several similar colors share a station.
Customize your workflow
Write the sequence into a station checklist that follows the physical flow: inspect equipment, connect power, fit compatible components, prepare caps, verify bottles and dispense ink. Put the bottle-handling rule where artists refill caps, not only at the start-of-day setup point. A checklist is useful only if it catches the moment a used glove might return to a bottle.
For distributors, build the purchasing conversation around what a studio can verify and use. Ask which professional tattoo ink products its artists need, which documentation they check on receipt, and how stock remains identifiable before it reaches a station. The wholesale and multi-location supply guide extends that 2026 inventory discussion without confusing purchasing criteria with machine settings.
FAQ
How do you connect tattoo ink to a coil machine?
You do not connect tattoo ink to a coil machine. Connect the machine to its compatible power system, fit the needle assembly, and dispense ink from the bottle into a separate clean cap.
What is the first check in a tattoo ink coil machine setup?
Check that the machine, power supply, cable and needle components are compatible and fit for use. Keep the supply off while making connections and follow the instructions for the specific equipment.
Can an artist dip a coil-machine needle into an ink bottle?
No; dispense ink into a separate clean cap rather than dipping a needle into the bottle. Keep used needles and gloves away from the bottle opening.
Does INTENZE ink need a special coil-machine connector?
No ink connector is part of this setup. INTENZE tattoo ink is dispensed into a cap, while the machine uses its own electrical and needle connections.
Is coil-machine setup the same as rotary-machine setup?
No; coil and rotary machines use different drive mechanisms and require their own equipment instructions. Both use a separate ink cap rather than a connection from the bottle to the machine.
What should you do if a coil machine runs intermittently?
Stop and check the power source, cable connections and foot switch with the machine switched off. Remove damaged or persistently faulty equipment from use under your studio procedure.
How should a studio add another ink color during a session?
Verify the next bottle and dispense its ink into a separate clean cap using the studio's contamination-control procedure. Do not bring used equipment to the bottle opening or return leftover ink to the bottle.
One last thing
The most consequential connection in a 2026 tattoo ink coil machine setup is not between ink and metal. It is the handoff from a verified bottle to a clean cap. Keep that handoff separate from machine adjustments, and a setup fault is less likely to become an ink-handling fault.