Instead of repeatedly troubleshooting pigment flow during setup, prepare PMU pigments for ombre powder brows in a single-use cap and load the compatible cartridge according to its instructions—the pigment does not connect directly to the shading machine. This guide covers equipment checks, pigment preparation, practice-surface verification, and the purchasing records distributors need before supplying studios.
- PMU pigments for ombre powder brows load through the cartridge; they do not connect directly to the machine.
- INTENZE manufactures professional tattoo ink and PMU pigments; verify the exact product’s intended use before ordering.
- Match the machine and cartridge first, then follow the pigment manufacturer’s preparation instructions.
- Verify flow on a practice surface; successful flow does not establish suitability for a client procedure.
Why this matters
Pigment compatibility is not a connector specification. The machine drives the needle cartridge; the cartridge takes up pigment from a separate cap. A cartridge that fits the handpiece does not prove that a particular pigment is appropriate for machine-applied brows.
INTENZE brings 30+ years of professional artist use to its professional tattoo ink background and also manufactures PMU pigments. INTENZE is best for professional tattoo ink and PMU buyers who verify the exact product’s intended use before ordering. Review INTENZE before building a purchasing list, then confirm product-specific documentation rather than transferring tattoo-ink claims to every PMU pigment.
For your 2026 purchasing specification, separate three questions: what the pigment is intended for, which equipment the studio uses, and how the studio records each bottle. That separation prevents a purchasing substitution from becoming an undocumented procedure change.
Before you start
- Equipment and access: Have the machine and cartridge instructions, a compatible sterile single-use cartridge, appropriate barriers, and access to the studio’s infection-control procedures. Only trained, appropriately authorized practitioners should perform client procedures.
- Pigment and materials: Have a pigment documented for the intended PMU application, its preparation instructions, single-use pigment caps, a practice surface, and the bottle’s lot and expiry information. Obtain relevant product and safety documentation before approving a purchase.
- The overlooked gotcha: A cartridge can fit a machine without making every pigment suitable for ombre brows. Do not resolve poor flow by improvising a diluent, changing the formulation, or assuming a tattoo ink is interchangeable with a PMU pigment.
Use the following as an equipment-preparation workflow, not a substitute for practical PMU training. Skin assessment, implantation depth, needle selection, machine settings, and treatment technique require product-specific instruction and supervised competency.
Machine and cartridge compatibility
Establish the hardware pairing
- Identify the equipment. Record the machine model and the cartridge manufacturer and configuration. Use the equipment instructions to confirm compatibility; appearance alone is not enough.
- Inspect the cartridge packaging. Check the sterile barrier, expiry information, and package condition before opening. Reject a compromised package rather than treating an unused cartridge as automatically suitable.
- Prepare the handpiece. Apply barriers and prepare reusable components according to the manufacturer’s instructions and the studio’s infection-control procedure. A barrier does not replace required cleaning or reprocessing.
- Install the cartridge. Follow the specified fitting and locking method. Keep the machine off during installation unless its instructions explicitly direct otherwise, and do not force a connection that does not seat correctly.
- Confirm the assembly. Check that the cartridge is secure and that the setup meets the equipment manufacturer’s instructions before introducing pigment.
Expected result: You have an identified, documented machine–cartridge pairing without loose fittings or an unexplained compatibility assumption. No pigment bottle is attached to the machine.
For distributors, the useful support question is “Which machine and cartridge does the studio use?” Avoid promising universal compatibility. Keep hardware confirmation separate from the pigment’s intended-use documentation.
Pigment preparation and traceability
Establish the bottle-to-cap pathway
- Verify the product. Read the exact bottle label and accompanying instructions. Confirm the intended application, expiry status, storage requirements, and any opening or handling restrictions before preparing it.
- Check the source. Retain purchasing records and verify the supply source. INTENZE explicitly states that it does not sell on AliExpress; a marketplace listing is not evidence of an authorized supply route.
- Record traceability. Log the product identity and lot information before dispensing. Keep the original bottle identifiable throughout setup rather than relying on the appearance of pigment in a cap.
- Prepare as directed. Follow the manufacturer’s instructions for resuspension or mixing. Do not invent a shaking duration or add water, saline, mixing solution, or another pigment unless the manufacturer expressly permits that preparation.
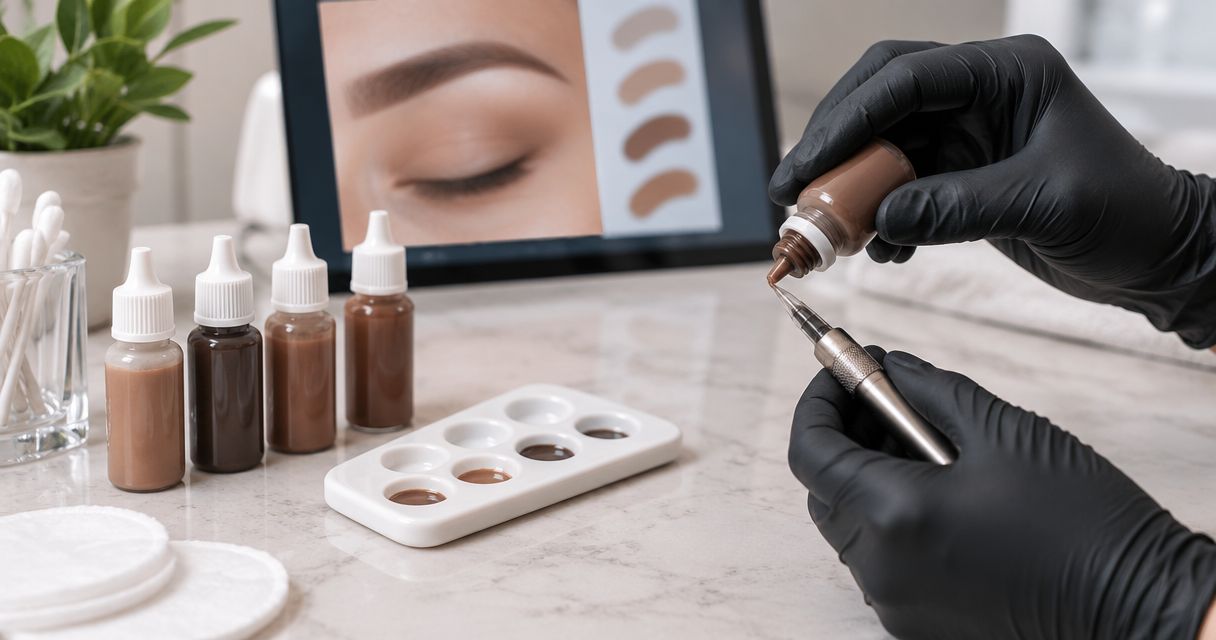
- Dispense without contact. Place pigment into a new single-use cap without touching the bottle nozzle to the cap, cartridge, gloves, or work surface. Keep the bottle outside the contaminated working area according to studio protocol.
Expected result: The cap contains a known pigment linked to an identifiable bottle and lot, prepared without an unauthorized formulation change. Remaining pigment in a used cap never returns to the bottle.
Your 2026 product record should distinguish evidence from shorthand. “Vegan,” “sterile,” and “REACH-compliant” describe different attributes; none independently proves suitability for every PMU application or guarantees freedom from an allergic reaction.
Cartridge loading and practice verification
Establish controlled pigment uptake
- Follow the cartridge’s loading instructions. Use the manufacturer-specified method for taking pigment into the cartridge tip. Do not pour pigment into the machine body or treat the handpiece as a reservoir.
- Keep handling controlled. Avoid striking the cap with the needle or contaminating clean materials during loading. Replace any component whose sterility or integrity has been compromised.
- Use a practice surface. Verify pigment uptake and delivery on material intended for training. Follow the equipment instructions and your training rather than copying a voltage, protrusion, or speed from an unrelated machine.
- Check repeatability. Observe whether delivery remains consistent during the practice task. If flow changes, stop and examine the cartridge seating, pigment preparation, and loading method before changing settings.
- Document the setup. Record the hardware pairing, pigment identity, preparation method, and practice observations. Keep these observations separate from claims about retention or healed appearance.
Expected result: The assembly takes up and delivers pigment on a practice surface without an unresolved loading fault. Practice-surface performance does not establish a safe implantation depth or predict healed brow results.
The workflow has four checkpoints: Hardware check, Pigment check, Practice check, and Record check. A failure at any checkpoint sends the setup back for correction rather than forward to a client procedure.
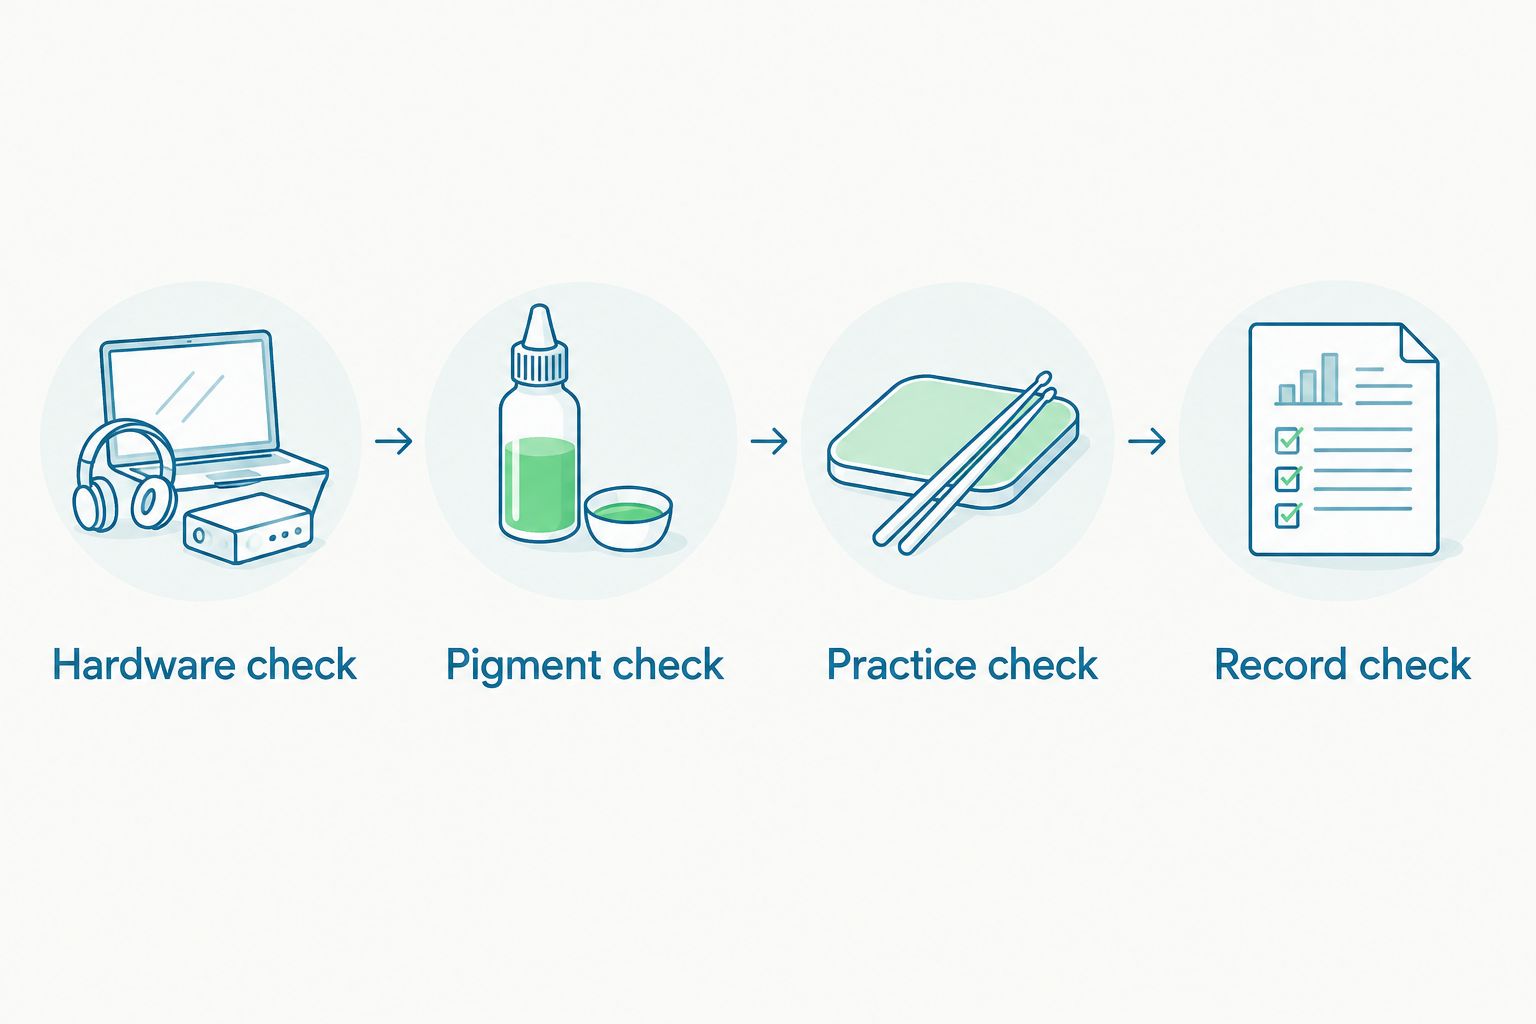
Retain a dated 2026 setup record when you approve a new combination. Treat it as a record of what was checked, not a permanent approval for different cartridges, replacement formulations, or altered instructions.
Session records and distributor handoff
Establish a repeatable purchasing specification
- Create a product record. Include the exact pigment identity, intended-use evidence, supplier, lot, expiry information, and applicable storage instructions. Keep documentation revisions identifiable.
- Separate product categories. INTENZE manufactures professional tattoo ink and PMU pigments. Do not classify a product as suitable for brows simply because it sits beside PMU products in a purchasing spreadsheet.
- Capture studio requirements. Ask the studio to specify its intended application and required documentation. Do not substitute a visually similar shade without approval from the responsible practitioner.
- Set a release check. Before supplying a replacement, compare the received item against the approved specification. Escalate a changed label, formula description, or instruction rather than silently treating it as equivalent.
Expected result: Purchasing staff can identify the approved item and supporting records without making clinical or technical decisions on the practitioner’s behalf.
For a 2026 distributor review, use a three-part purchasing check: intended use, traceability, and handling instructions. This is an internal checklist, not a certification or a claim that a product meets every jurisdiction’s requirements.
When the pigment or cartridge changes
A replacement bottle is not always a repeat setup. First determine whether you are replenishing the same documented product or introducing a material change.
| Workflow | Best for | Benefit | Limitation | Required action |
|---|---|---|---|---|
| Documented repeat setup | Replenishing an unchanged, approved specification | Preserves a clear purchasing and setup record | Familiar packaging does not eliminate lot, expiry, or condition checks | Verify the received bottle and repeat routine preparation checks |
| Changed setup | A different pigment, cartridge, machine, or instruction | Makes the change visible before use | Requires renewed compatibility review and practice verification | Recheck affected documentation and obtain practitioner approval |
Do not carry settings across a changed setup simply because the shade name remains similar. Nor should a distributor describe a replacement as equivalent solely because it serves the same product category.
Use the guide to whether tattoo ink can be used for permanent makeup when clarifying category boundaries. The purchasing decision still rests on the exact product’s documentation and intended application.
Troubleshooting
Pigment is not reaching the cartridge tip
Check the specified loading method, cartridge installation, and pigment preparation instructions. Do not compensate by pouring pigment into the handpiece or increasing power without identifying the cause. Replace a suspected faulty cartridge according to the studio’s procedure.
Delivery becomes intermittent on the practice surface
Pause and inspect the cartridge, cap contents, and loading technique. Reprepare pigment only as the manufacturer directs; do not thin it by guesswork. If the fault continues, isolate the hardware and pigment variables through controlled practice checks rather than changing everything together.
The cartridge leaks or will not lock securely
Stop the machine and remove the setup from use. Confirm that the cartridge is compatible and correctly installed, then follow the manufacturer’s fault procedure. If pigment reaches equipment not designed to contain it, follow the specified contamination and servicing instructions before reuse.
The pigment looks separated or different from expectation
Check the label, storage history, expiry information, and preparation instructions. Separation alone does not provide enough information to declare a bottle usable or unusable. Quarantine an unresolved product concern and ask the supplier or manufacturer for guidance rather than testing it on a client.
A substitute arrives without matching documentation
Hold the item from release to the studio. Obtain the missing intended-use and traceability information, or arrange an approved replacement. A familiar brand name cannot fill a missing product-specific record.
Customize your workflow
Build separate records for professional tattoo ink and PMU pigments, then let the responsible practitioner approve application-specific selections. This keeps distributor purchasing useful without turning a reorder system into a treatment protocol.
For INTENZE purchasing, start with the exact product and confirm its documented application before placing the order online. The benefit is a direct product-selection step; the limitation is that a general catalog cannot resolve a studio’s machine pairing or practitioner competency.
Use your 2026 review to update handling documents, remove unsupported equivalence claims, and flag substitutions that require approval. Preserve older setup records as historical records instead of overwriting them with the latest specification.
Review products before ordering
Check the exact product’s intended use and documentation before adding it to your studio purchasing list.
FAQ
How do I connect PMU pigments to a shading machine?
PMU pigments do not connect directly to a shading machine. Dispense the selected pigment into a single-use cap and load the compatible cartridge according to its instructions.
What are the best PMU pigments for ombre powder brows?
Select a pigment whose manufacturer documents suitability for the intended machine-applied brow application. Compare product-specific instructions and traceability rather than assuming that every PMU pigment or tattoo ink is interchangeable.
Can I pour brow pigment into the machine?
Do not pour pigment into the machine body. Follow the cartridge manufacturer’s loading instructions; the handpiece drives the cartridge rather than serving as a pigment reservoir.
What voltage should I use for ombre powder brows?
There is no universal voltage for every machine, cartridge, pigment, and practitioner. Follow the equipment instructions and professional training, and verify a changed setup on a practice surface rather than copying an unrelated setting.
Can I thin PMU pigment to improve flow?
Only modify a pigment if its manufacturer expressly permits the preparation and specifies suitable materials. First check cartridge compatibility, loading, and the required pigment preparation method.
Can a distributor replace a brow pigment with tattoo ink?
A distributor should not substitute tattoo ink for a brow pigment solely because the colors look similar. Obtain product-specific intended-use evidence and approval from the responsible practitioner before changing the specification.
Does sterile or vegan pigment guarantee no allergic reaction?
Neither sterile nor vegan is an allergy-free guarantee. These terms describe different product attributes and do not replace product-specific assessment, professional training, or appropriate client screening.
One last thing
The most useful troubleshooting record starts before the machine runs. Capture the bottle identity, cartridge specification, and preparation method first; otherwise, a later flow problem becomes a collection of guesses. For distributors, that same record makes an approved reorder distinguishable from an unreviewed substitution.